According to StatCounter, over 69% of desktop users worldwide run Windows. But if you're serious about breaking into cybersecurity, cloud computing, server management, or DevOps, Linux is not optional — it's inevitable. At some point, whether from day one or somewhere along the way, you will need to work with Linux.
For most people, completely abandoning Windows for Linux overnight isn't realistic. That's where virtualization comes in. Tools like VMware Workstation Pro and VirtualBox let you run a fully isolated Linux environment inside Windows, so you can learn at your own pace without disrupting your daily workflow.
Downloading VMware Workstation Pro
In 2023, Broadcom acquired VMware and subsequently shifted its business model — moving away from retail software sales toward high-value enterprise subscriptions. As a result, VMware Workstation Pro is now free for personal use, but the download process requires a Broadcom account. Here's how to get it.
Step 1: Create or Log In to Your Broadcom Account
If you already have a Broadcom account, head over to the Broadcom login page. If not, register here first, then log in.
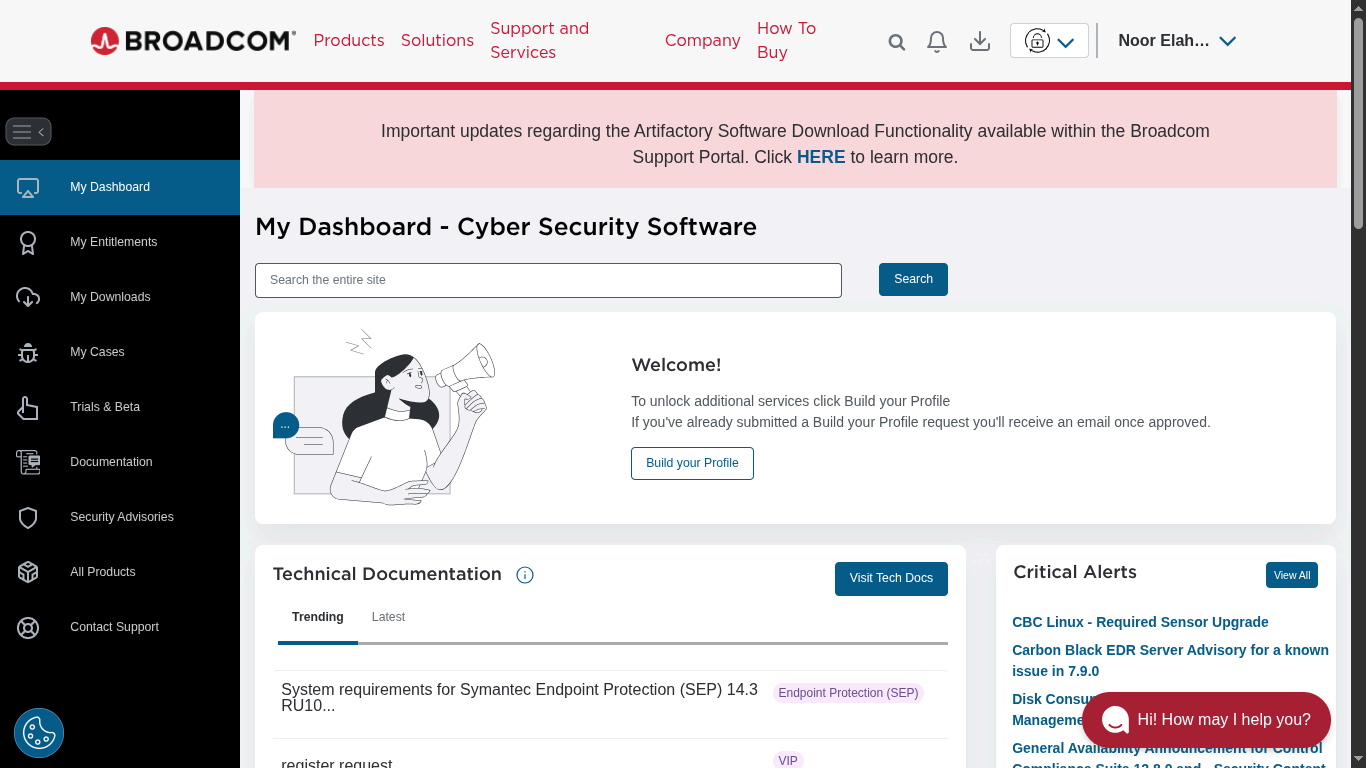
Once logged in, you'll be greeted with the Broadcom dashboard:
Step 2: Navigate to My Downloads
Click on My Downloads in the left sidebar. This section gives you access to all software available under your account, including the free personal-use tools.
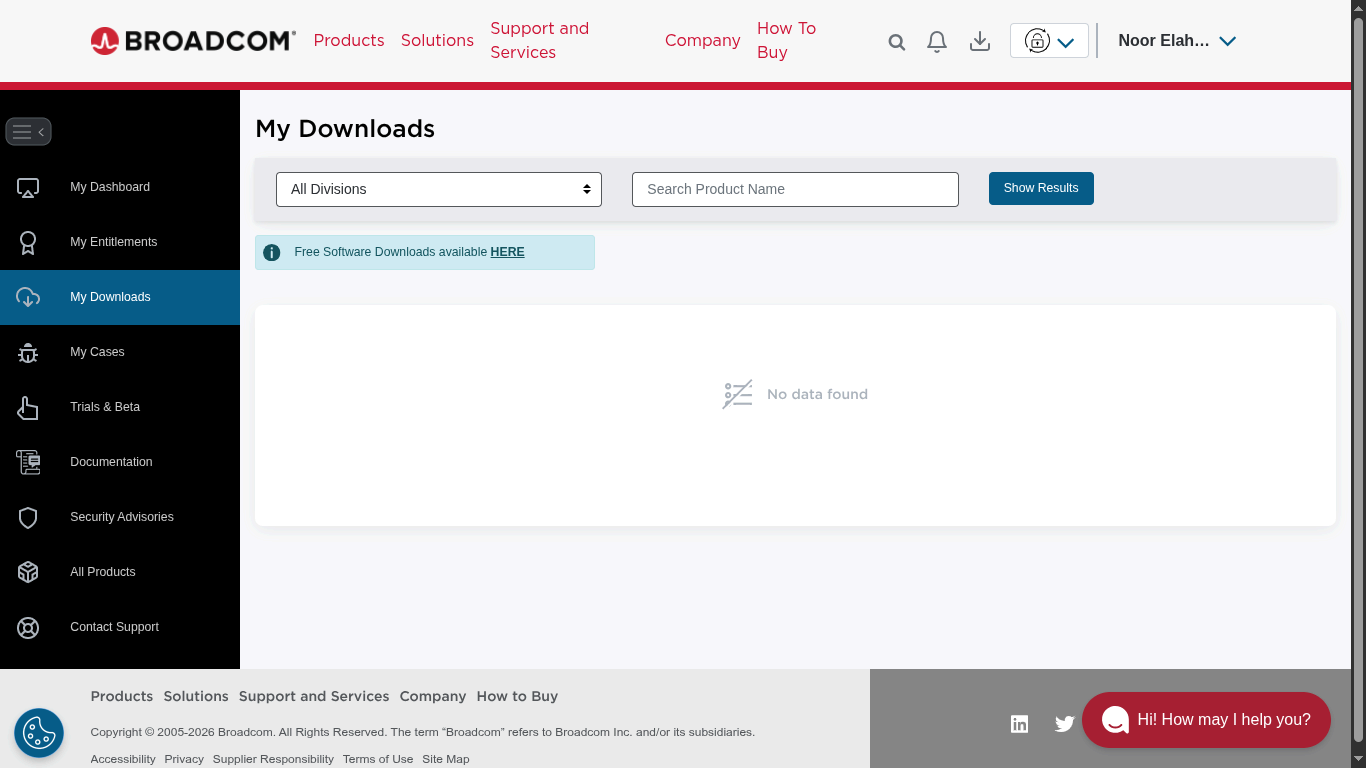
Step 3: Access Free Software
Look for the option to view Broadcom's free software offerings and click it. You'll see a list of available tools at no cost:
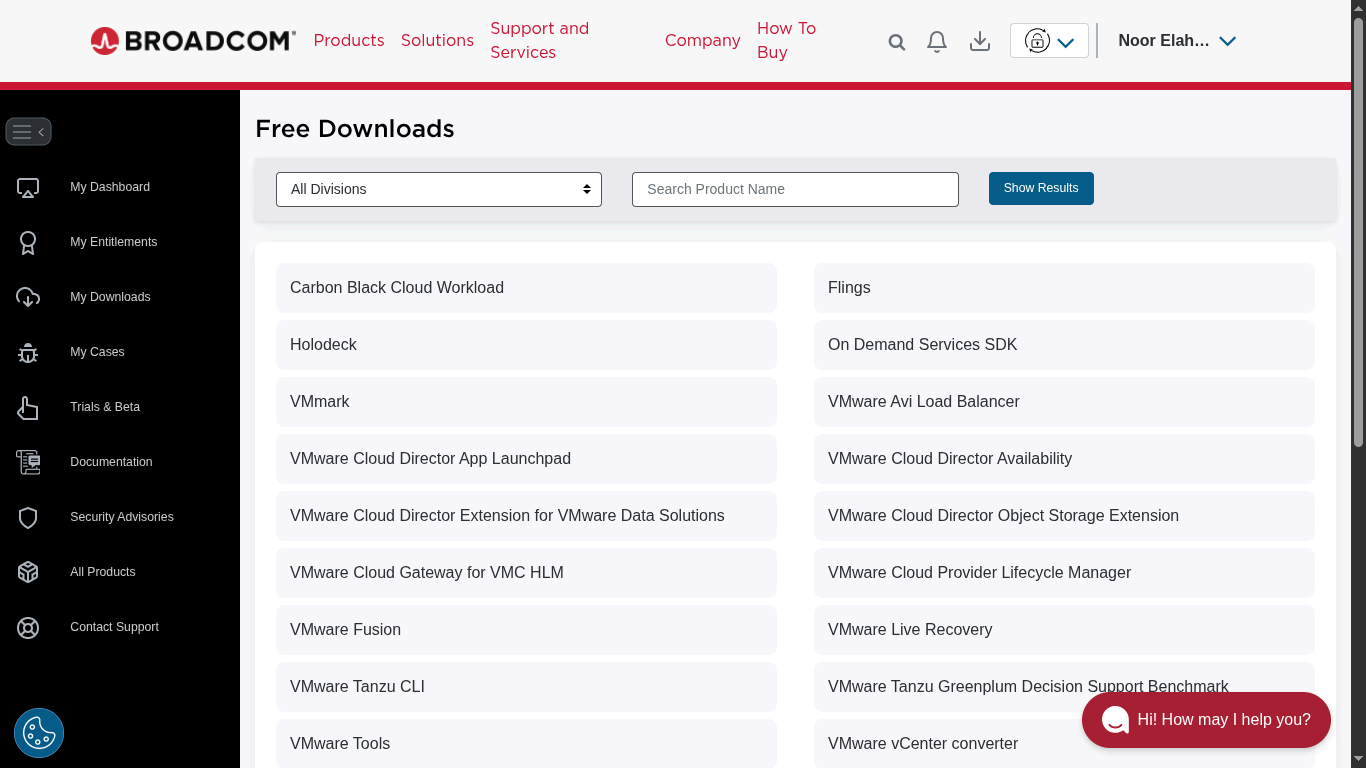
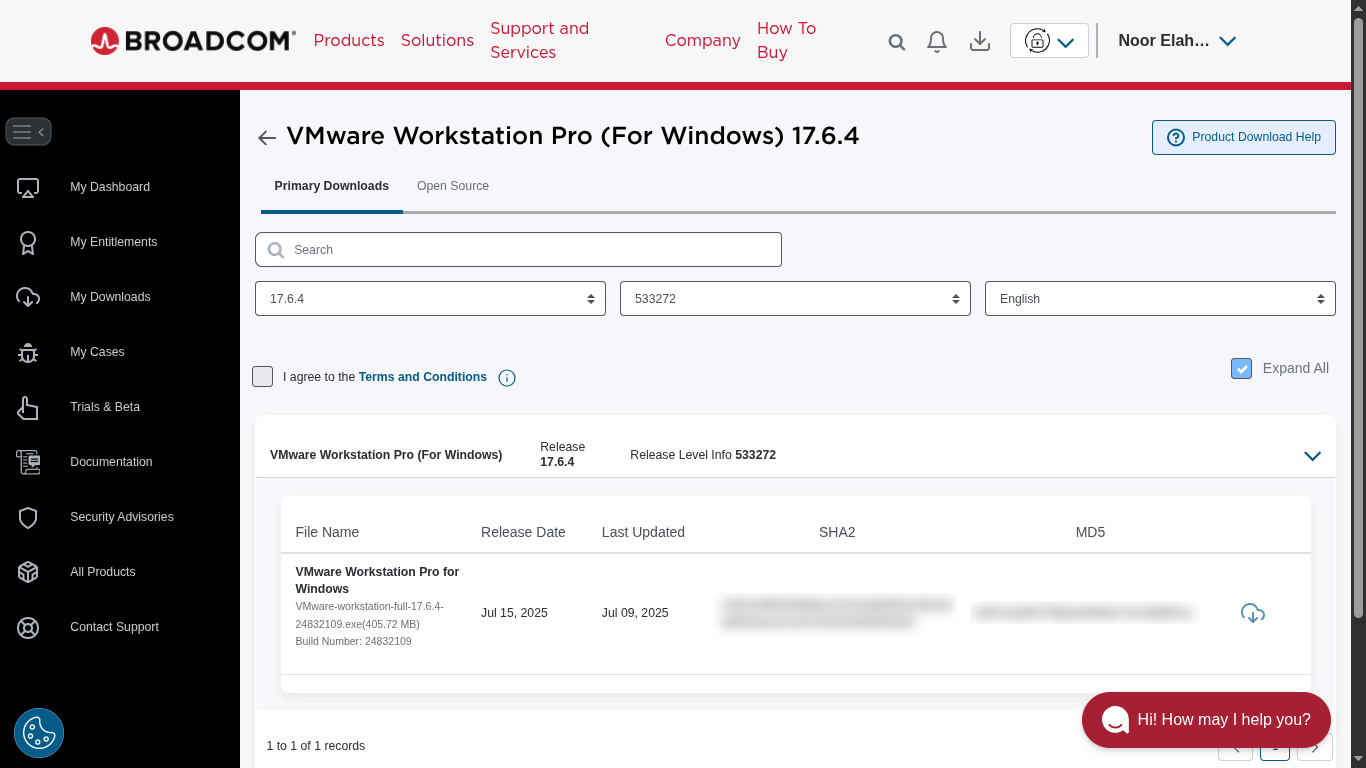
Step 4: Select VMware Workstation Pro
From the list, select VMware Workstation Pro. You'll then be prompted to choose a version.
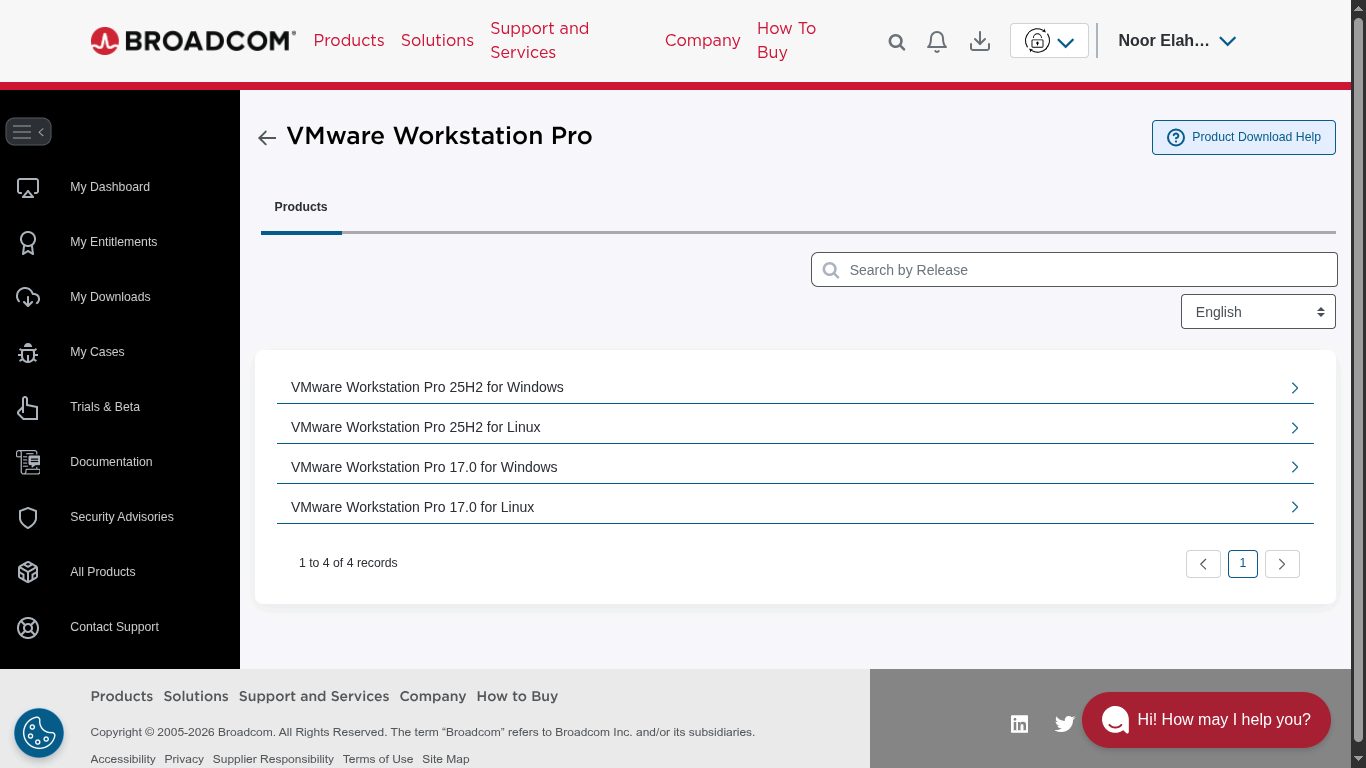
For reliability, I went with version 17. Here's what the download screen looks like:
Step 5: Accept the Terms and Conditions
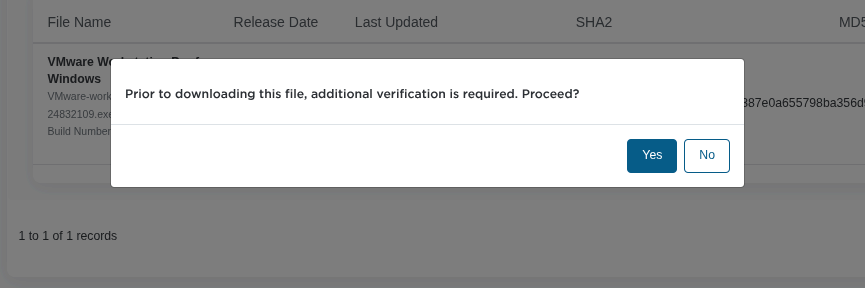
Click the Terms and Conditions link to open the agreement — this action also enables the checkbox so you can actually agree to it. Once you've read and accepted, you'll be prompted to confirm:

Click Yes to proceed.
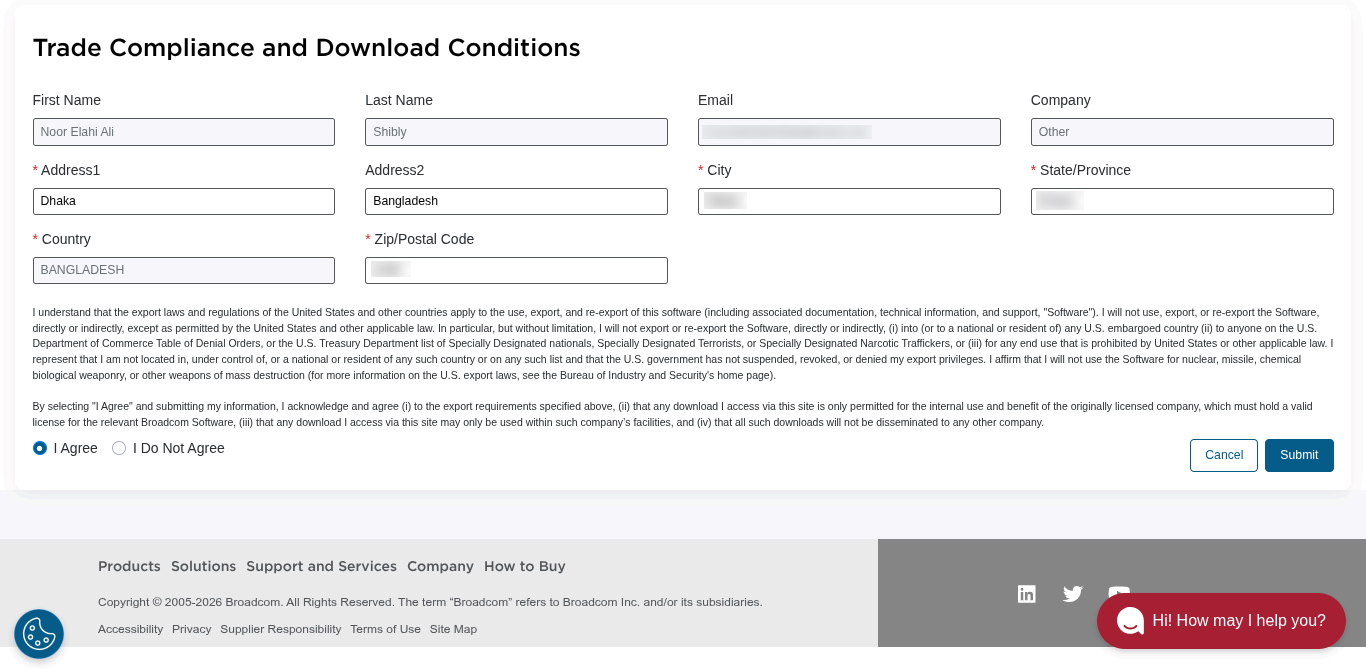
Step 6: Fill in the Compliance Form
Broadcom requires a short compliance form before allowing the download. Fill it out accurately:
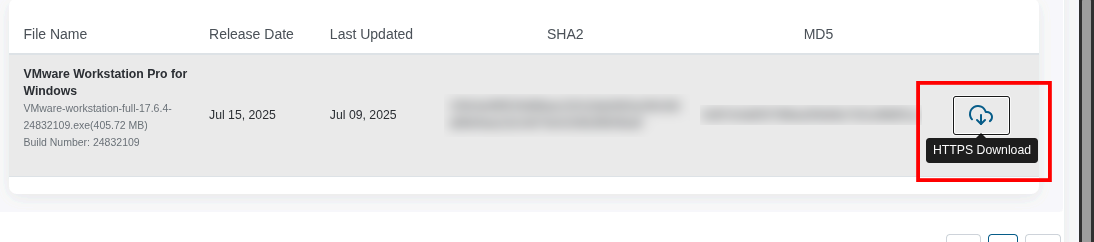
Step 7: Download the Installer
Finally, click the Download button to grab the installer:
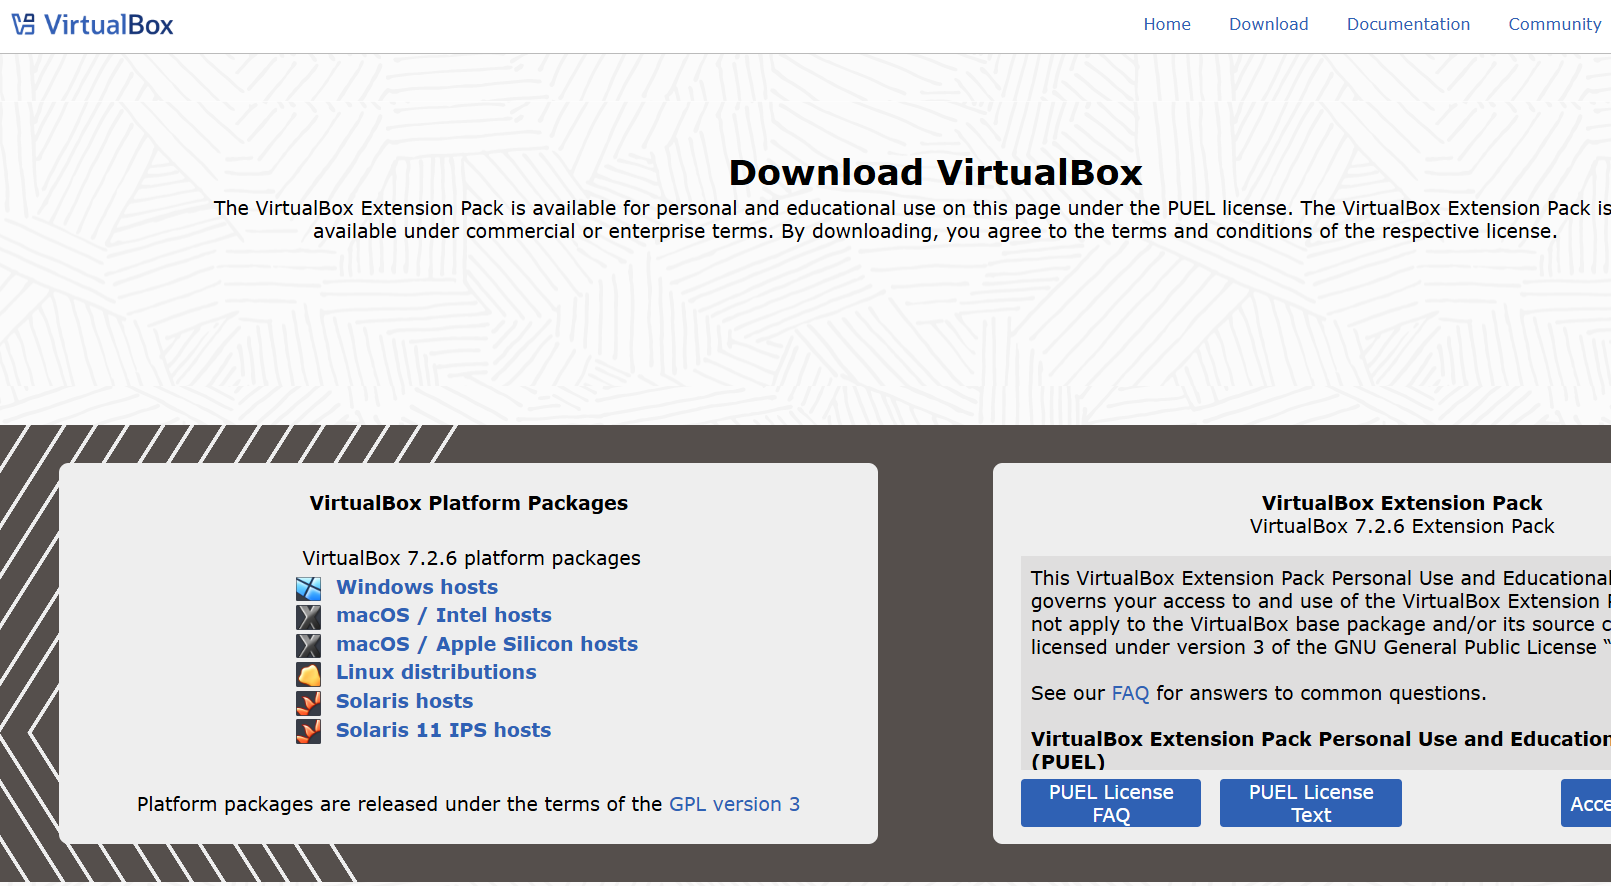
Downloading VirtualBox
If Broadcom's multi-step process felt like a bit much, you'll appreciate Oracle's approach with VirtualBox. No accounts, no compliance forms, no friction.
Simply visit the official VirtualBox Downloads page and click the link that matches your operating system. That's it.
VMware vs VirtualBox: Which Should You Choose?
The popular YouTuber NetworkChuck frequently recommends VMware Workstation Pro as the top pick for performance — especially now that it's free for personal use. He uses it regularly in his tutorials because it tends to handle heavier workloads and 3D acceleration more efficiently than VirtualBox.
That said, in my personal experience, the difference in day-to-day usage isn't dramatic. For learning Linux, running CTF environments, or basic lab work, both tools get the job done well. Here's a quick breakdown:
- VMware Workstation Pro — Better performance for heavy workloads, smoother 3D support, more polished UI. Slightly more complex to download (Broadcom account required).
- VirtualBox — Open-source, dead simple to install, cross-platform, and perfect for most learning scenarios. Oracle's download is hassle-free.
Hands-on: Installing Your First Linux VM (Debian 10)
Now that you have your hypervisor ready, it's time to put it to work. We aren't just installing Linux to browse the web; in the world of cybersecurity, we often build "Lab Machines."
For this guide, we will install Debian 10. Why an older version? Because it contains specific legacy behaviors (and vulnerabilities) that make it a perfect "Victim Machine" for practicing exploitation—specifically a Telnet vulnerability we'll explore in a future post.
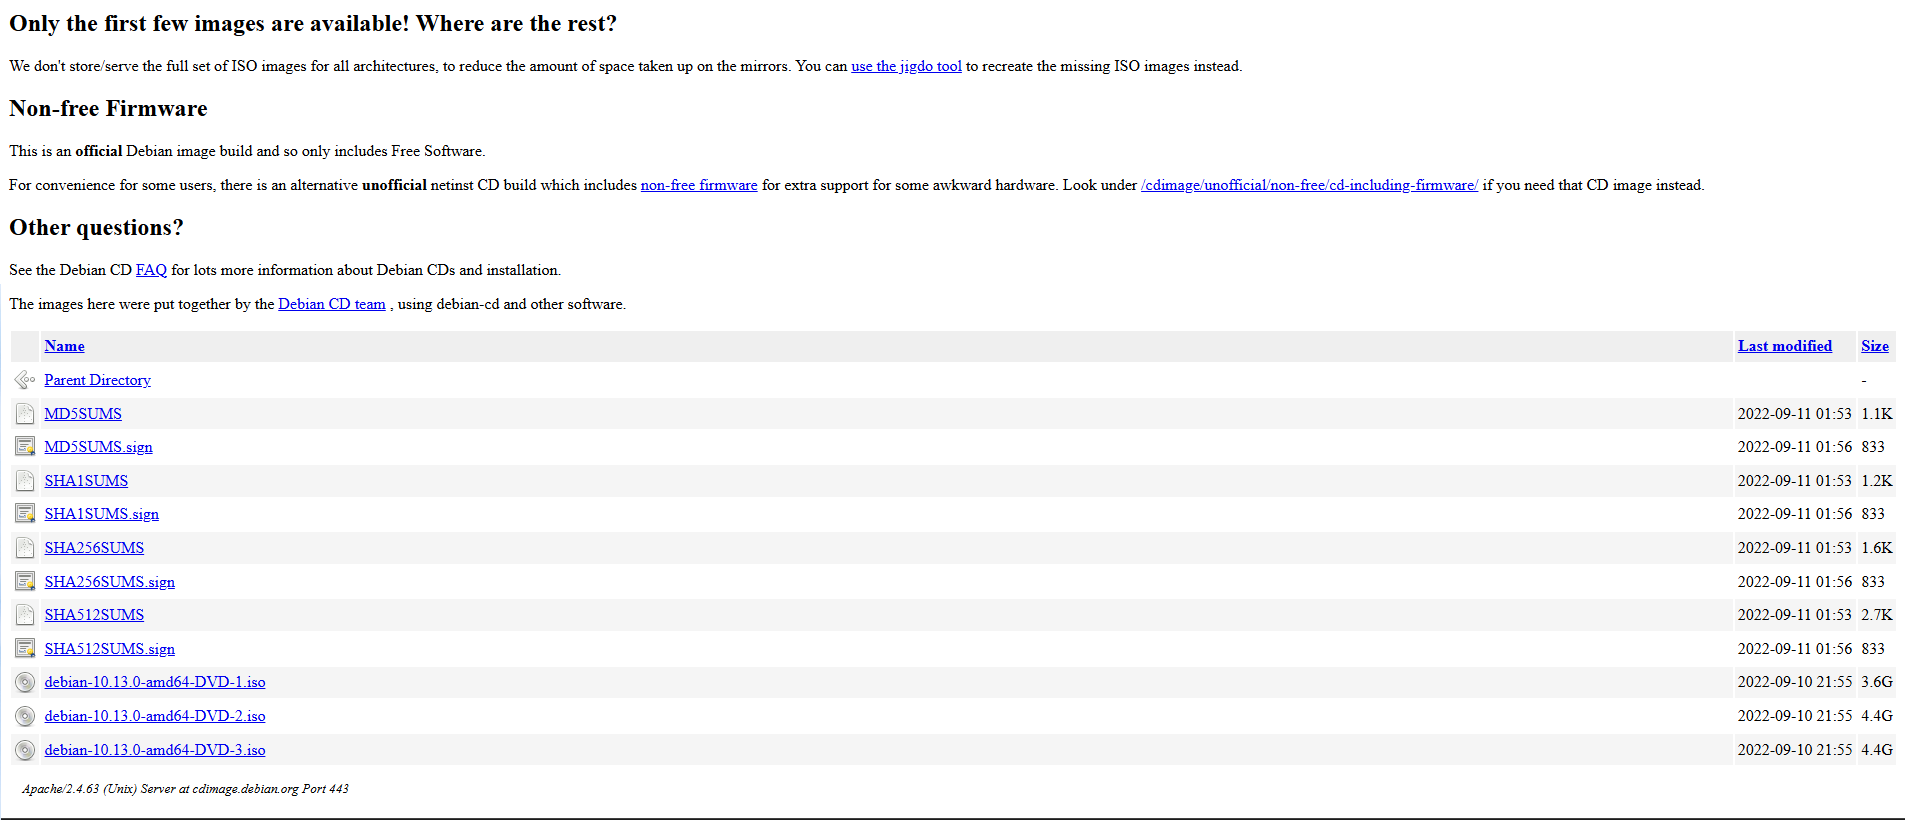
Step 1: Download the ISO
First, grab the Debian 10 disk image (ISO). For this lab, we need the amd64-DVD-1.iso.
Download Link: Debian 10.13.0 Archive
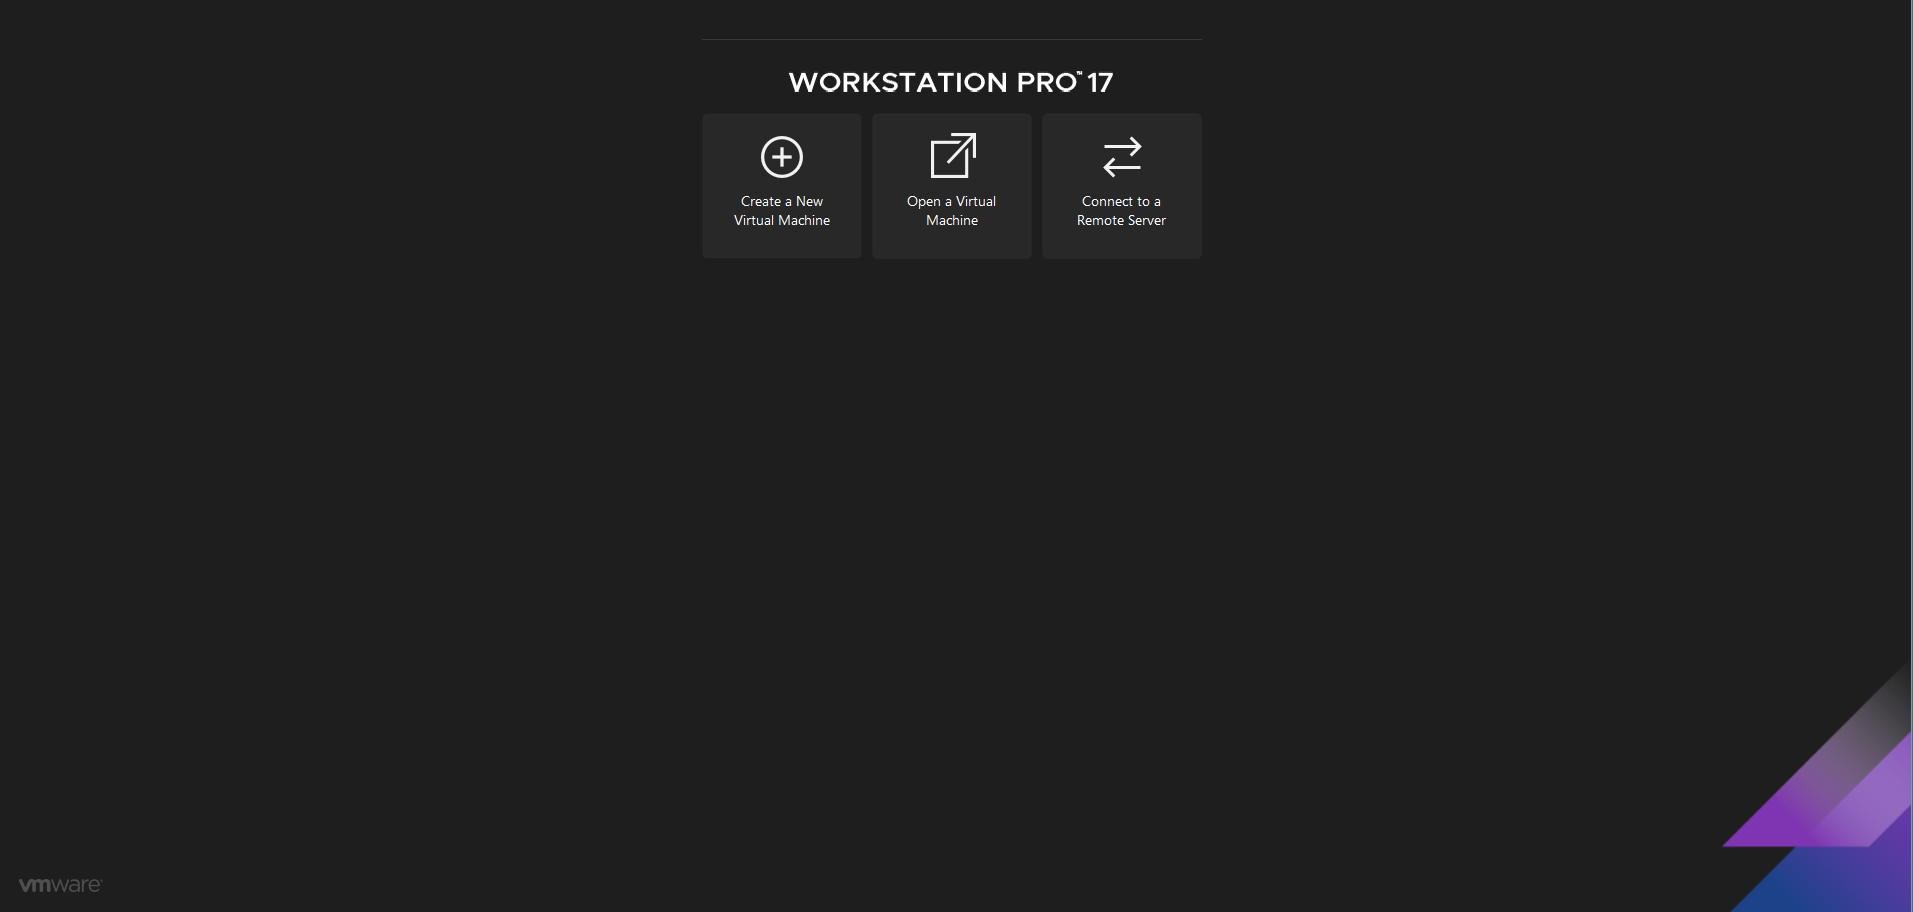
Step 2: Create a New Virtual Machine
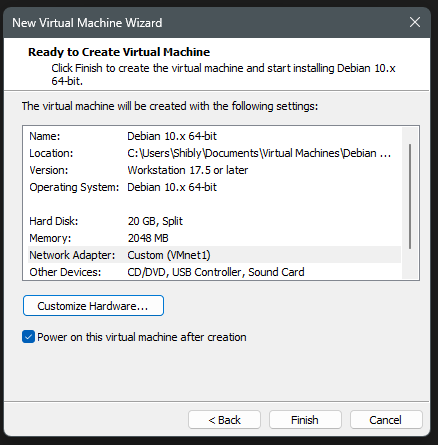
Open VMware Workstation Pro and click Create a New Virtual Machine.
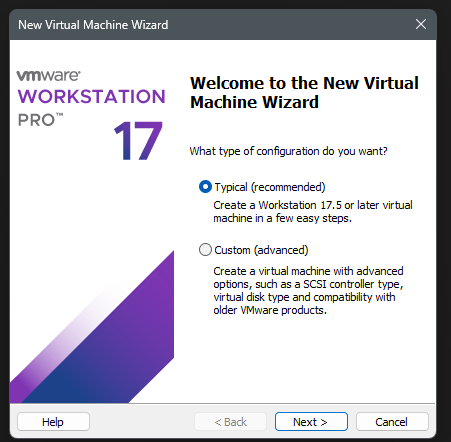
Choose the Typical configuration—it’s the fastest way to get up and running without getting bogged down in advanced hardware specs.
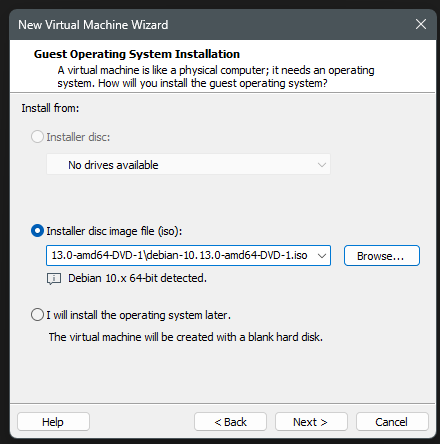
When prompted for the installer disk, browse and select the Debian ISO you just downloaded.
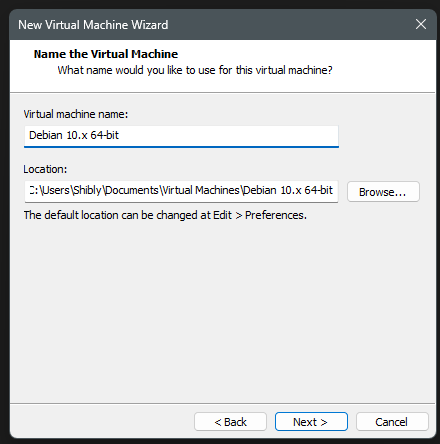
Give your VM a descriptive name like Debian-10-Lab and choose where to store it.
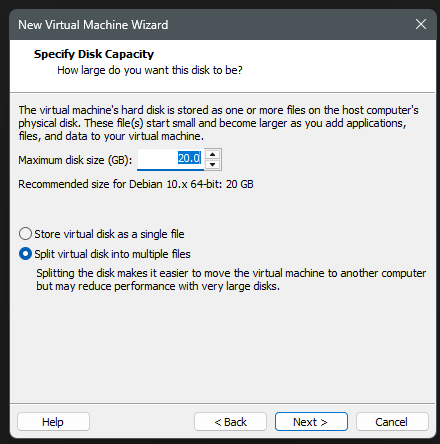
Allocate at least 20 GB of disk space. The default is fine for our purposes.
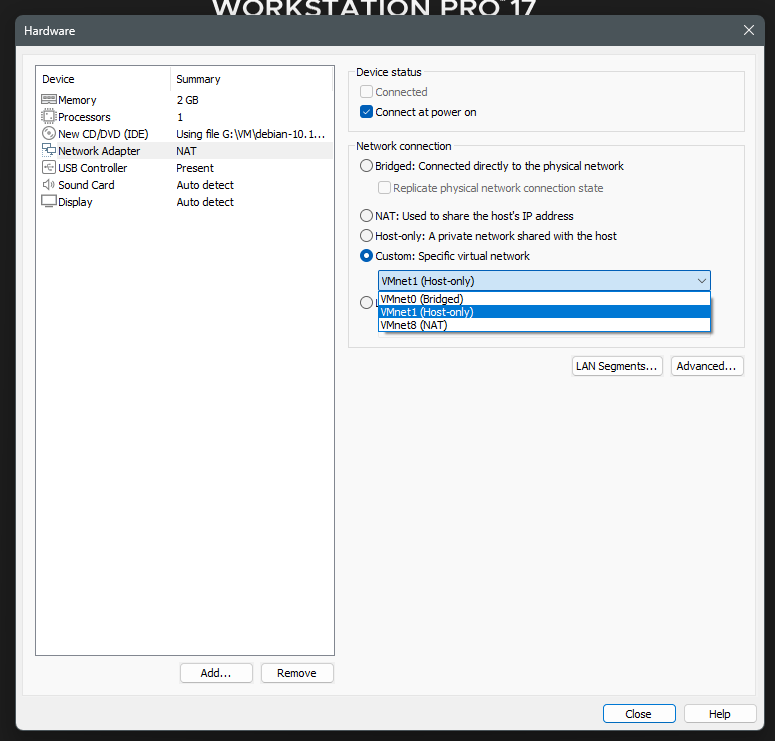
Before finishing, click Customize Hardware... to adjust the network.
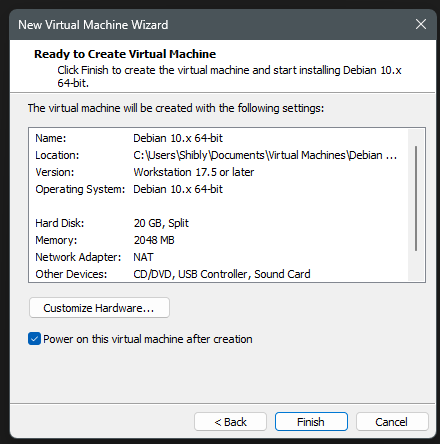
Click Finish to create the VM.
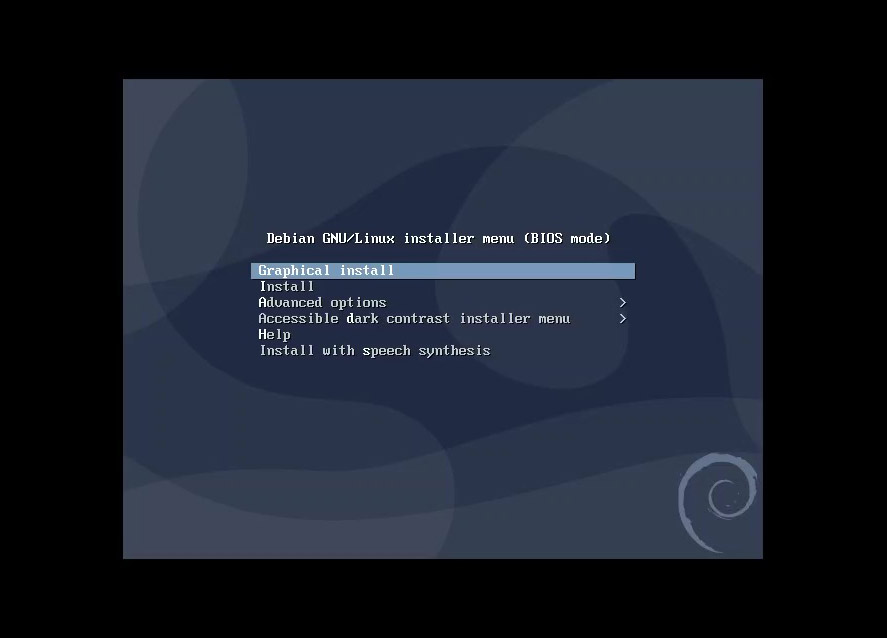
Step 3: Start the Installation
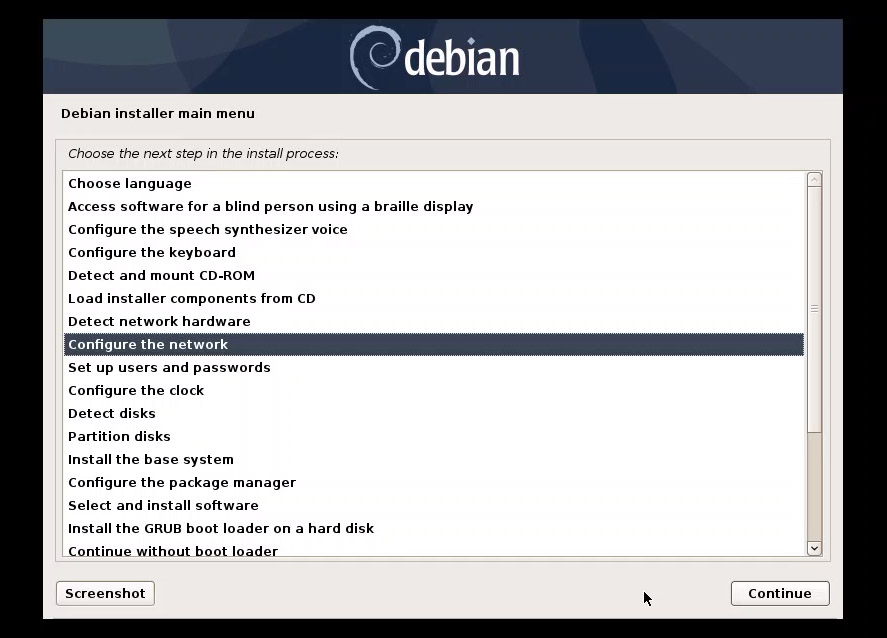
Power on the VM. When the boot menu appears, select Graphical Install. This provides a user-friendly interface for the setup.
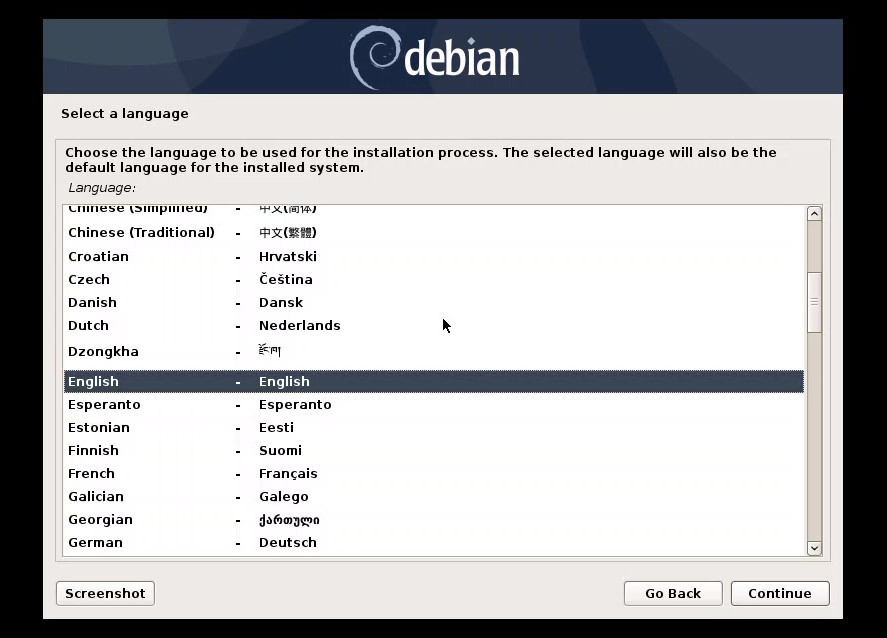
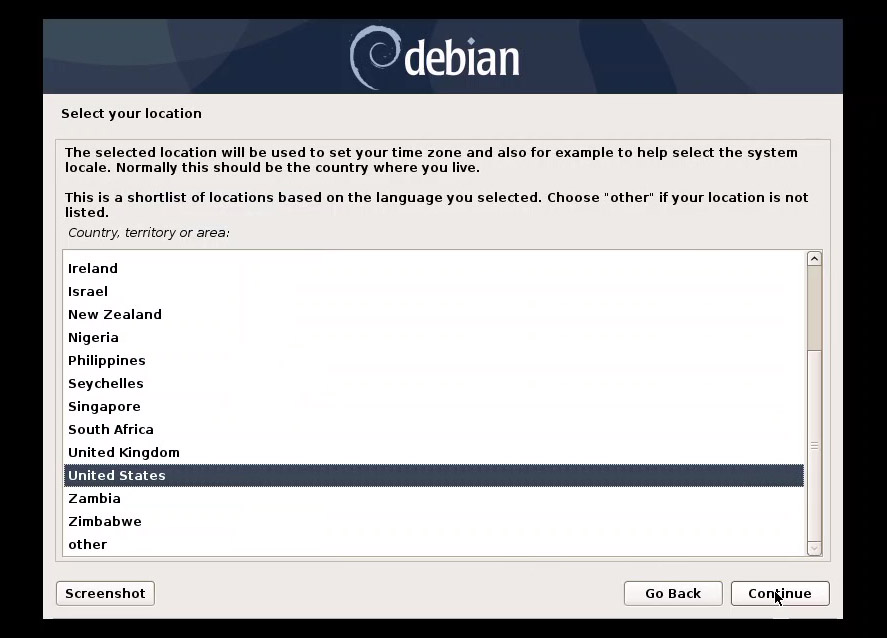
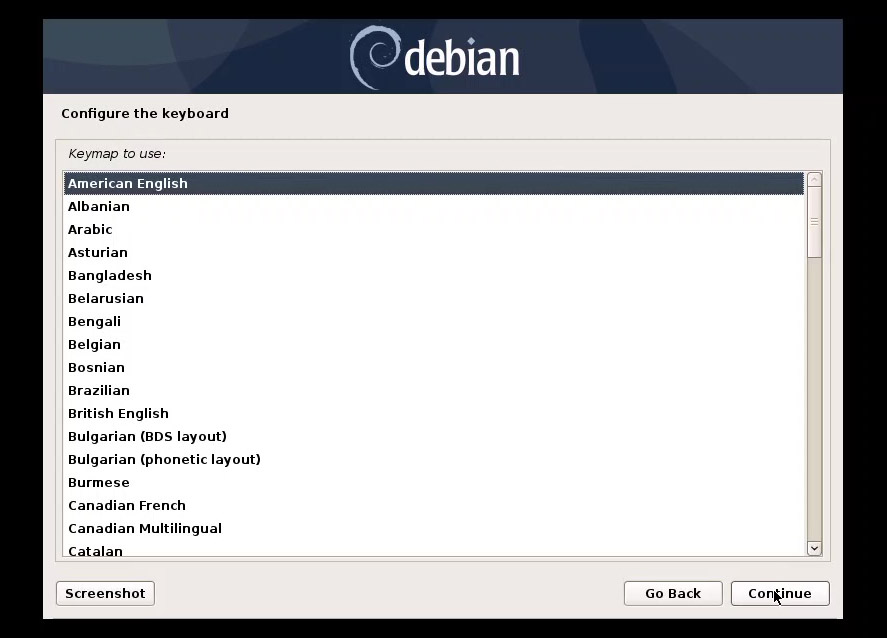
Follow the prompts to select your Language (English), Location (United States), and Keyboard (American English).
Step 4: Network and User Configuration
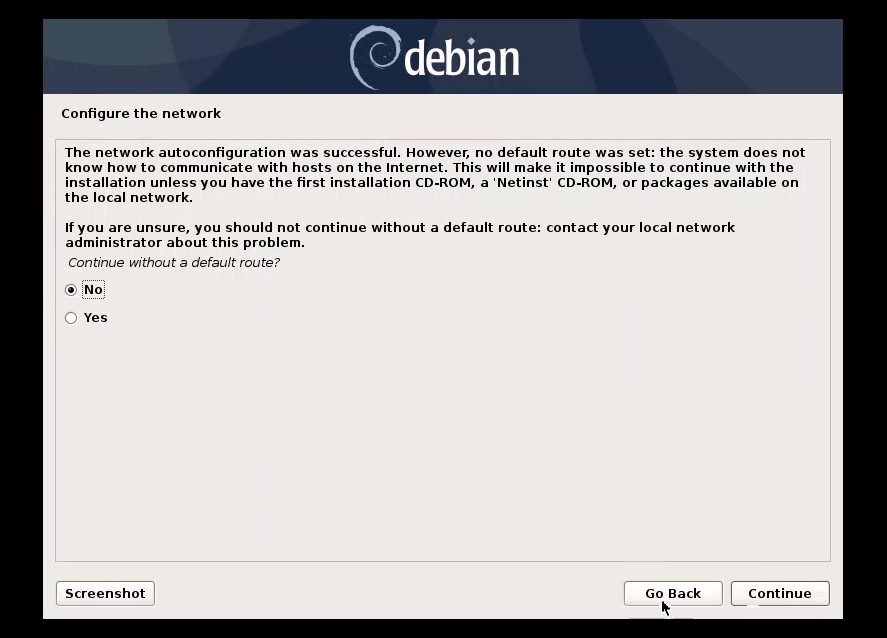
When configuring the network, if it asks for a "default route" and you are in an isolated lab, select No.
If it later prompts for an IP address, just click Go Back — we don't need advanced network setup now.
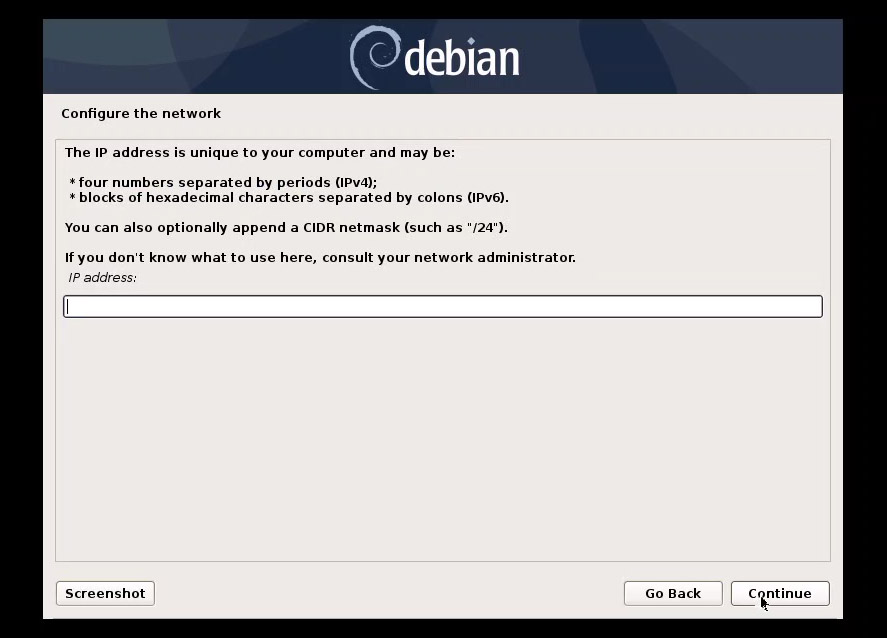
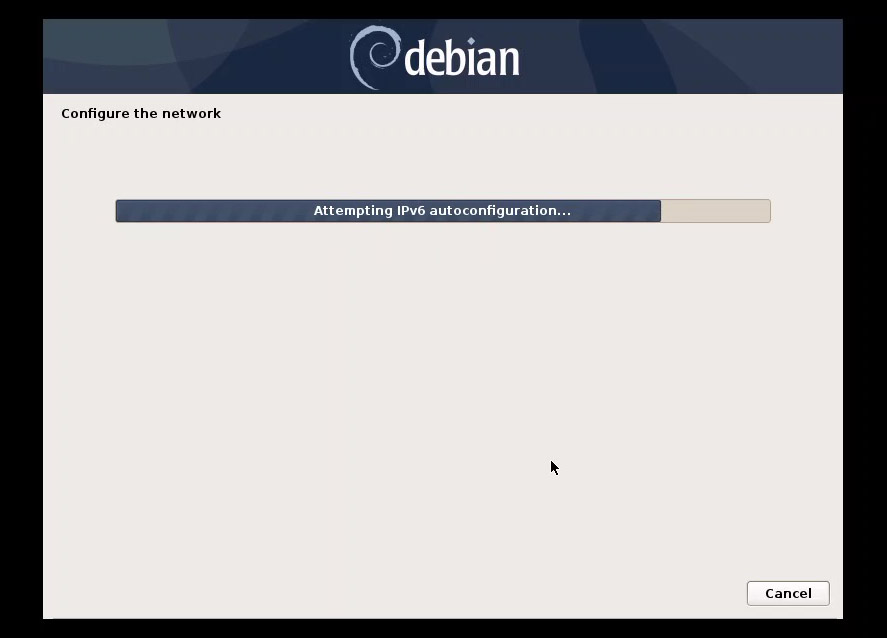
Then select Continue to let it autoconfigure.
The installer will attempt IPv6 autoconfiguration — this is normal.
For the Hostname, I used debian10.

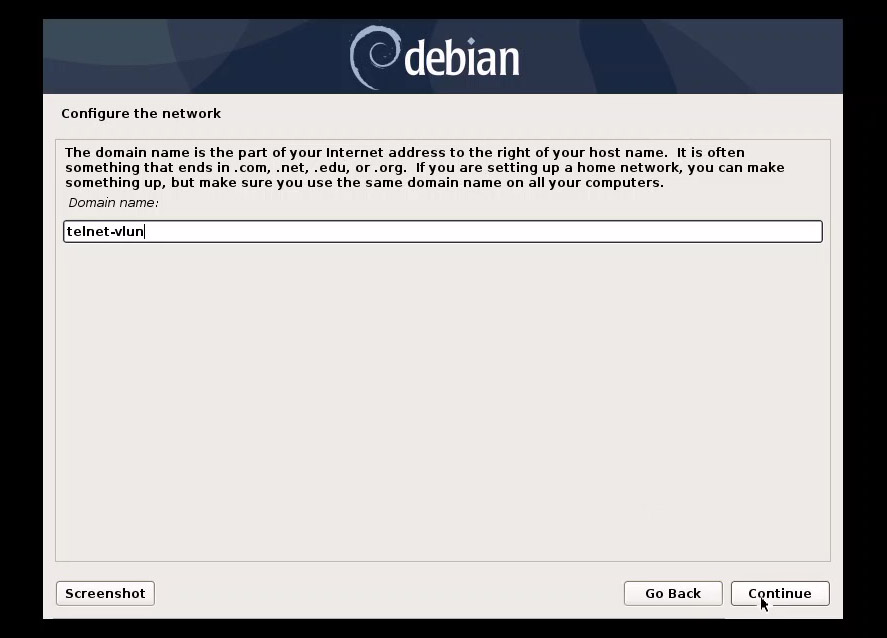
For the Domain Name, I chose telnet-vuln to remind me of this machine's future purpose.
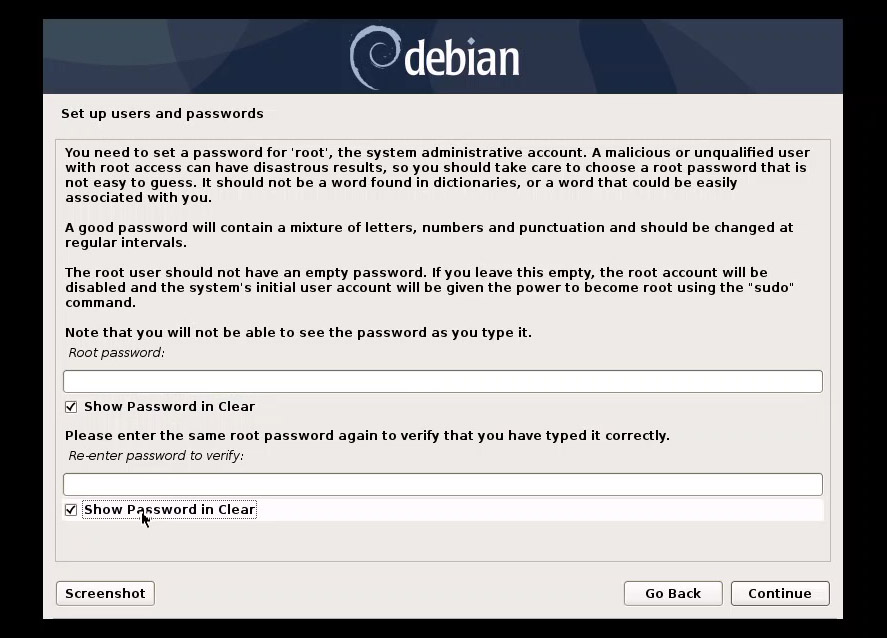
Set a strong Root Password.
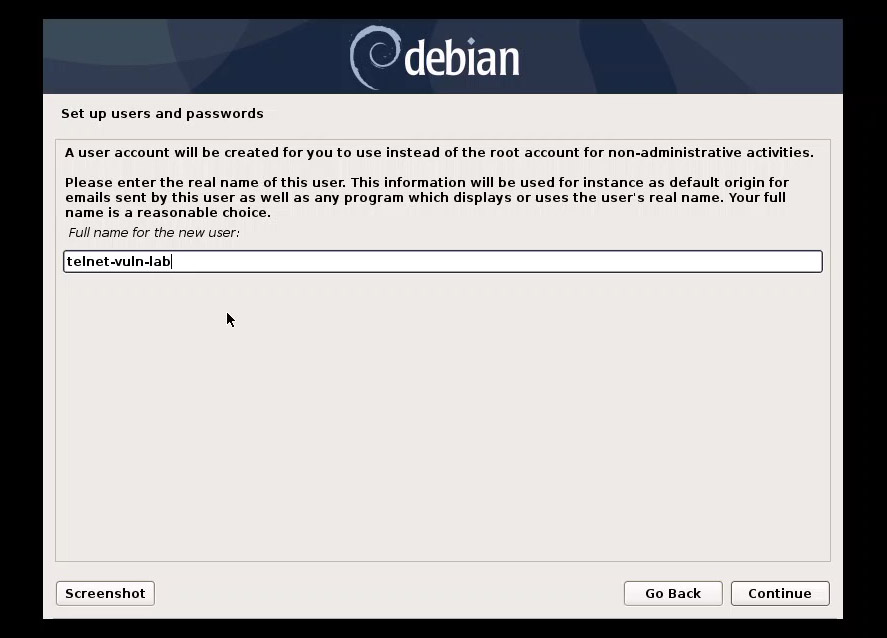
Next, create a standard user account. Enter the full name of the user.
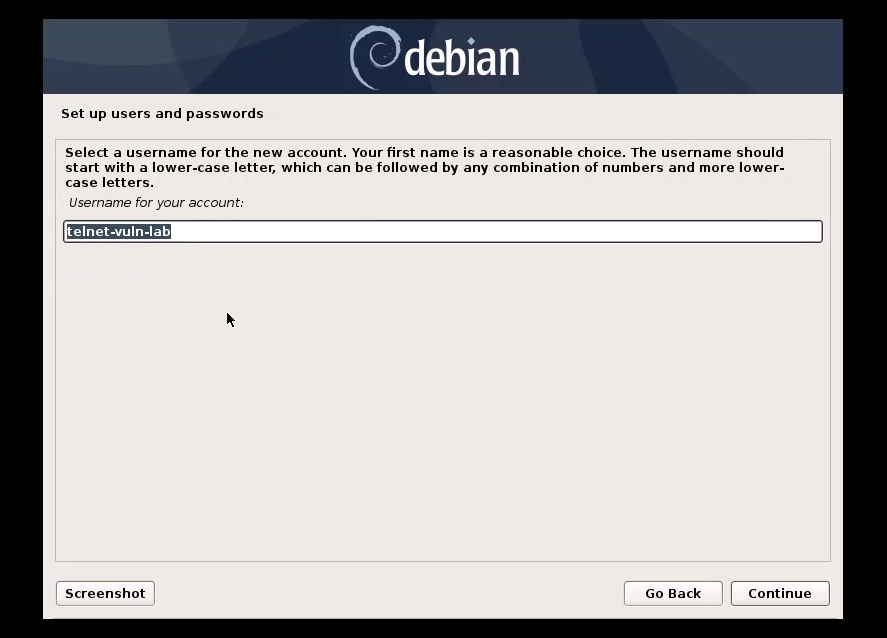
Choose a username (e.g., telnet-vuln-lab).
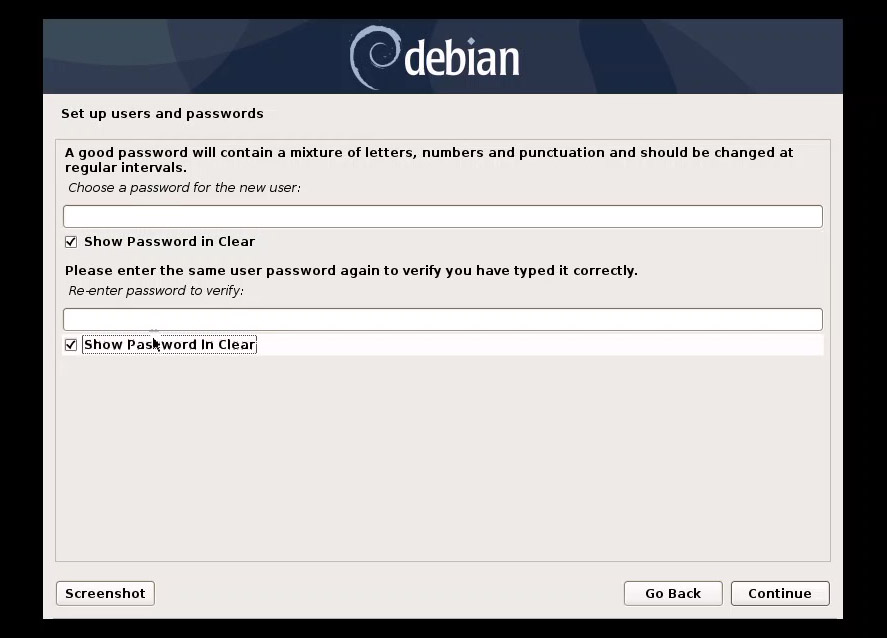
And set a password for that user.
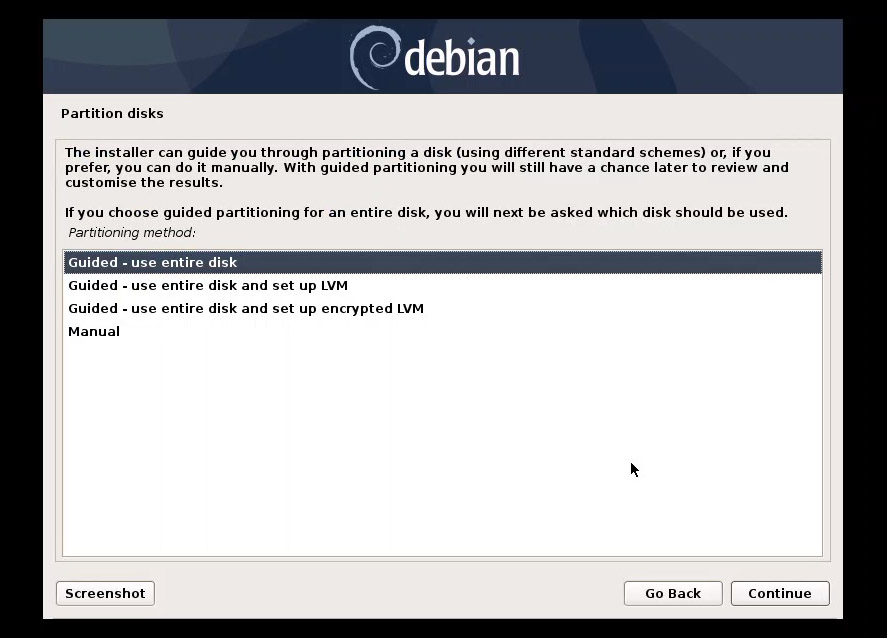
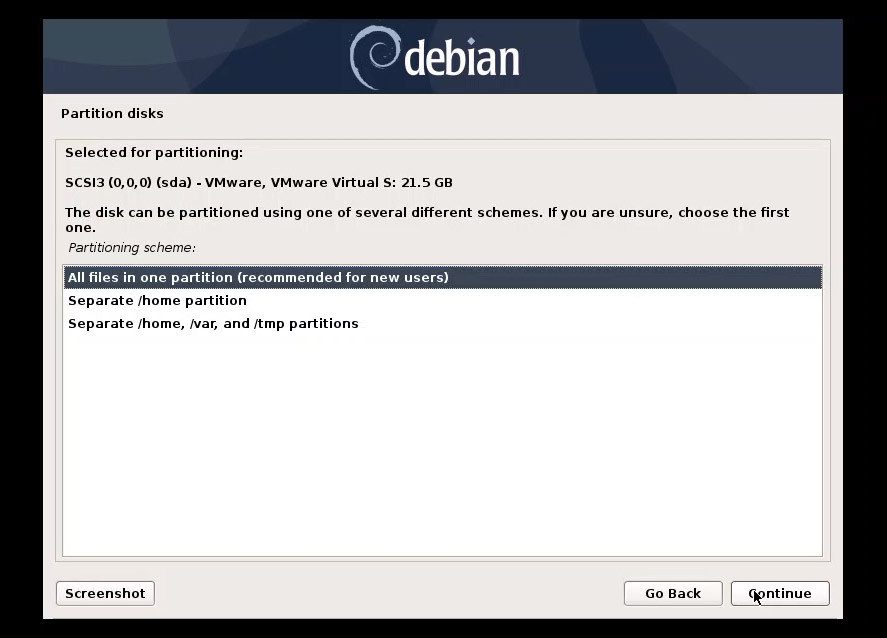
Step 5: Partitioning and Finalizing
For partitioning, choose Guided - use entire disk.
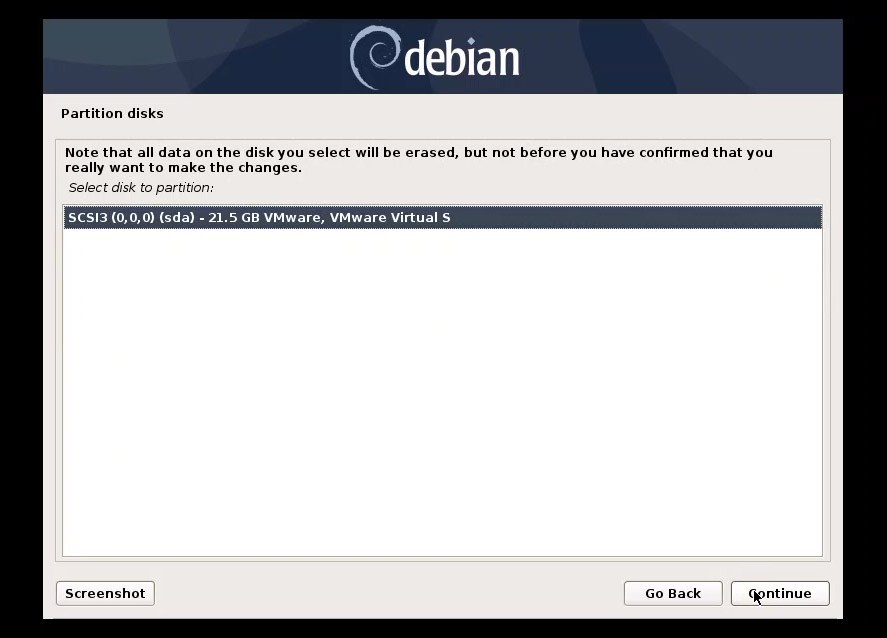
Select the virtual disk we created earlier.
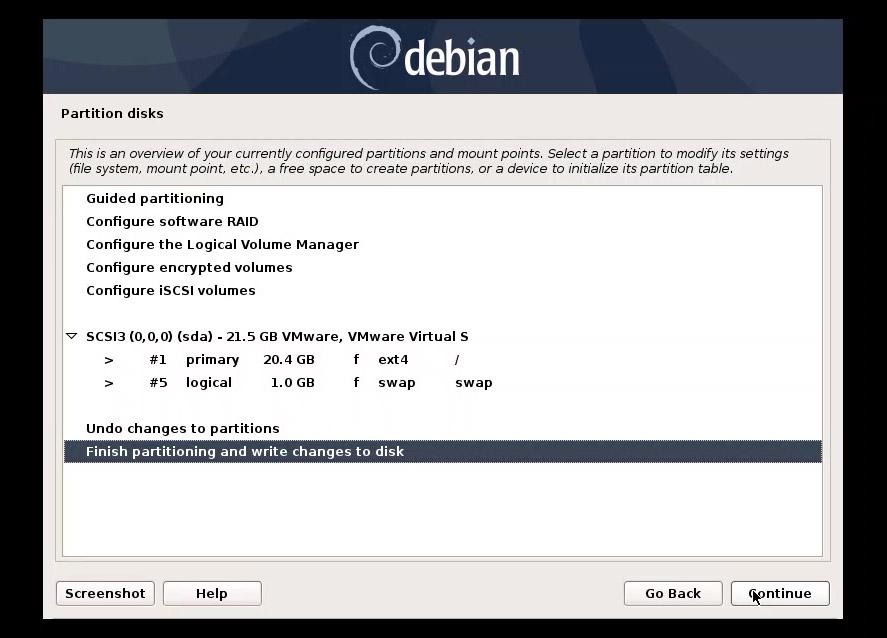
When asked for the scheme, select All files in one partition (highly recommended for beginners).
Finish the partitioning and confirm by selecting Yes to write changes to the disk.
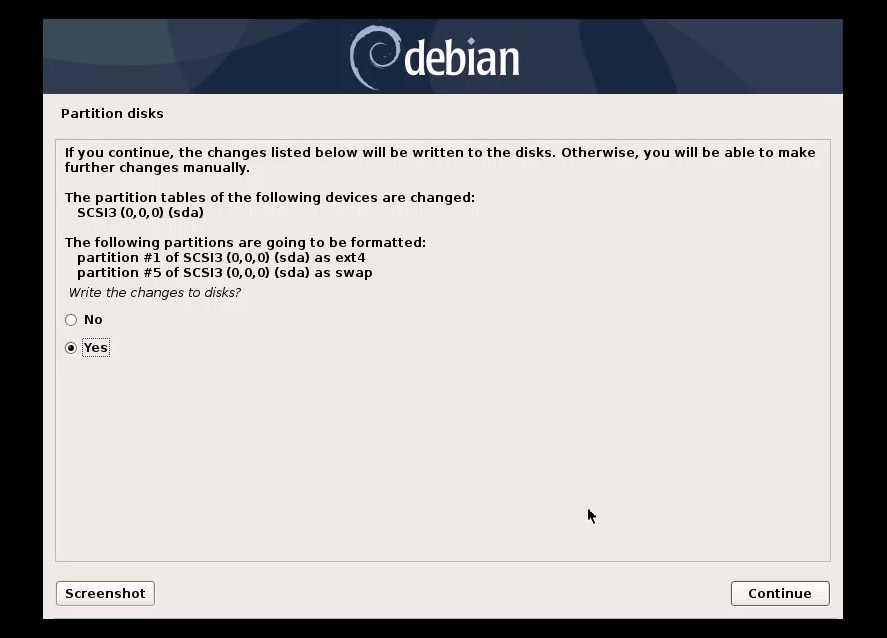
The base system will now be installed.
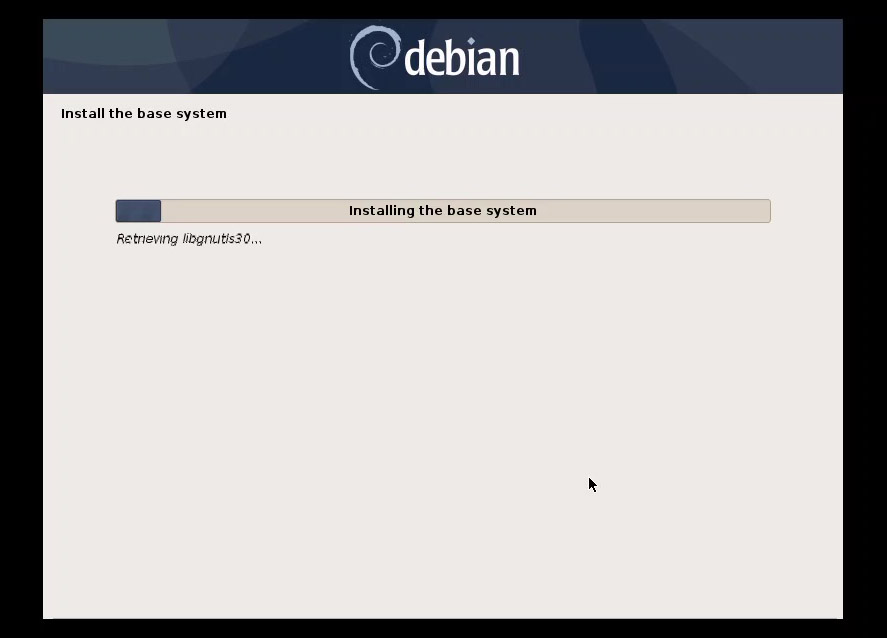
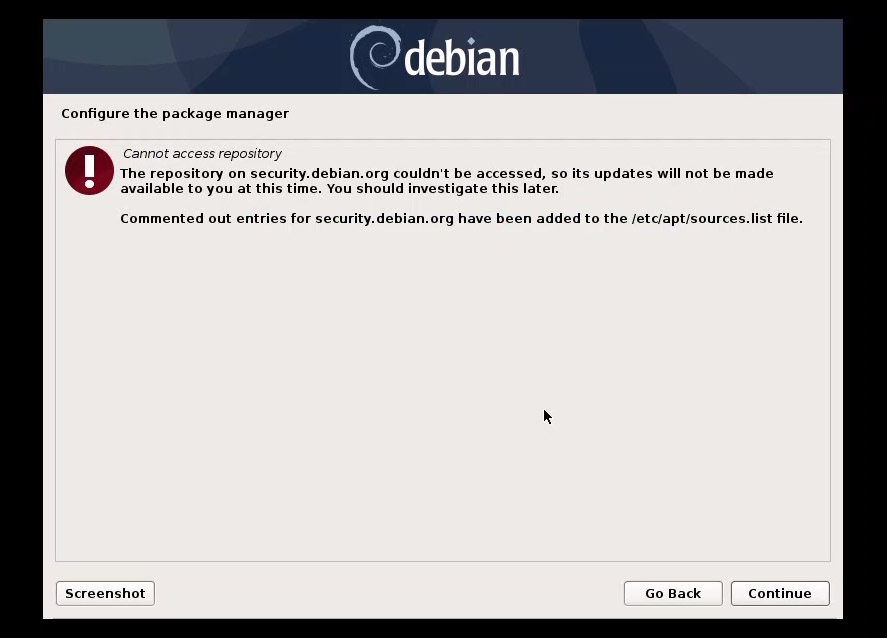
Once the "Base System" is installed, it may fail to find a "Package Manager" repository because we are using an archived version. Don't panic! Just click Continue. We will fix the repositories manually later.
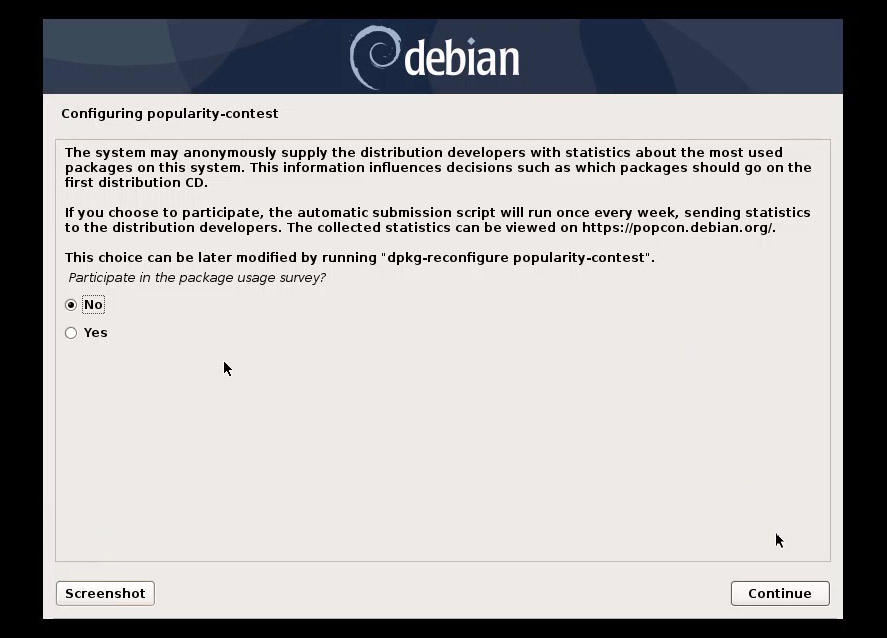
Choose No for the package usage survey.
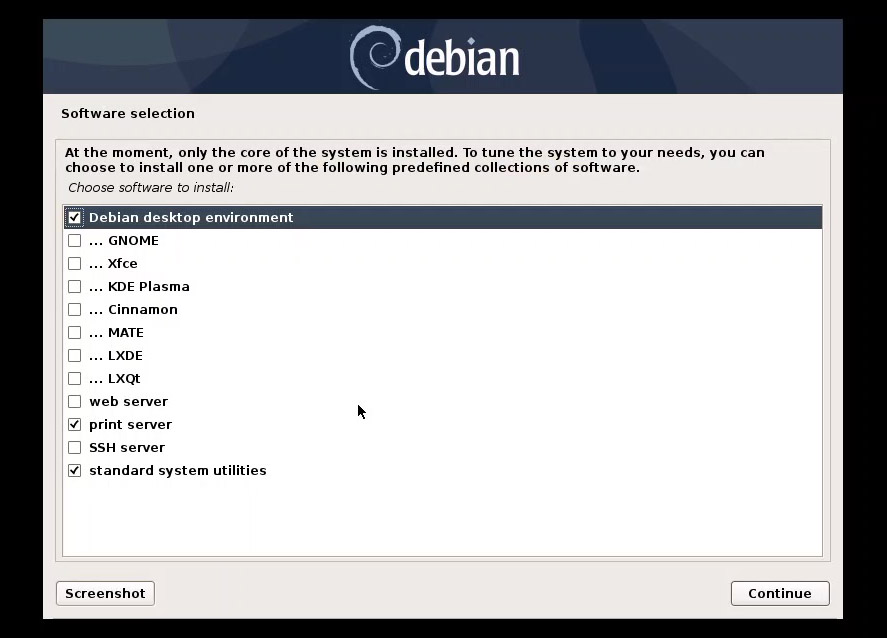
For the software selection, keep the defaults (unless you have specific preferences).
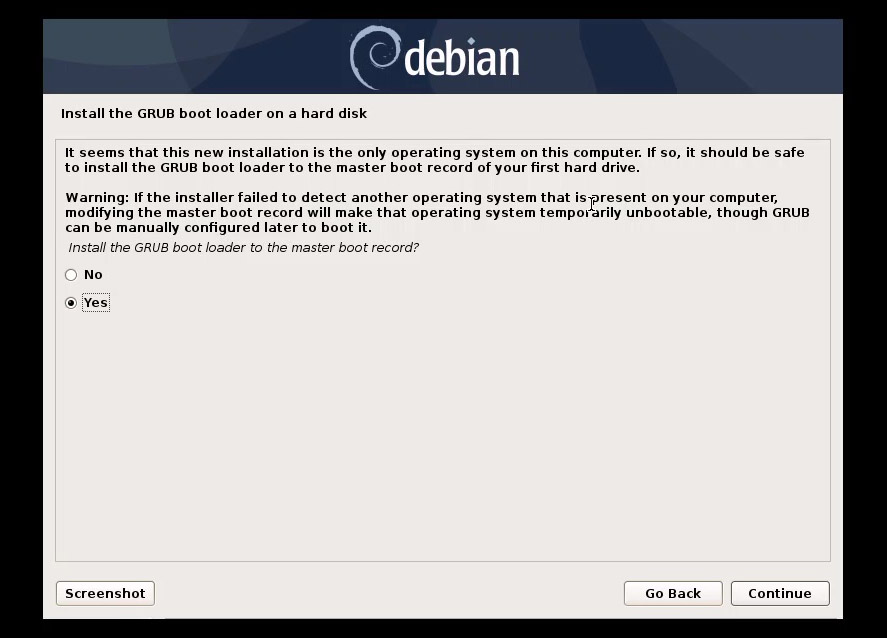
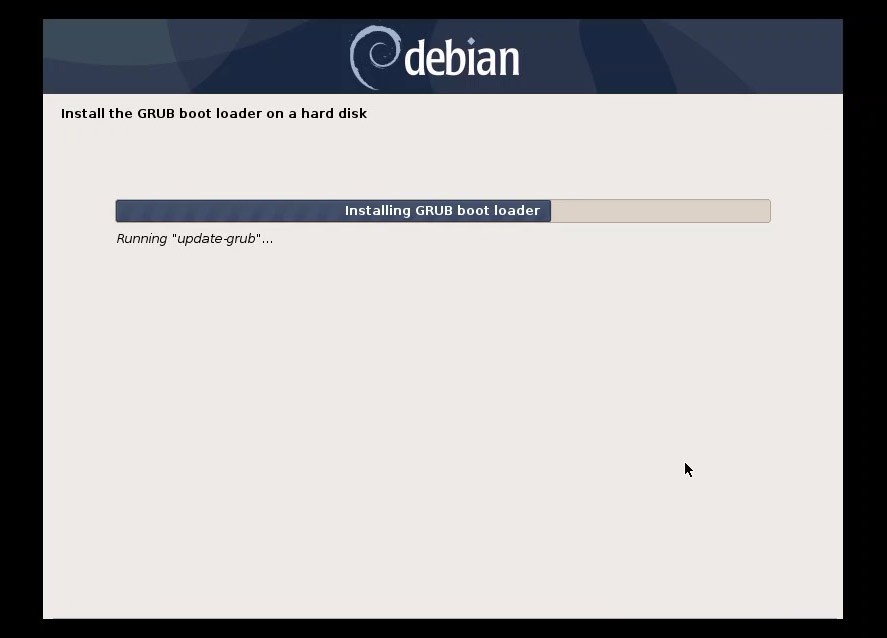
Install the GRUB boot loader to the master boot record: Yes.
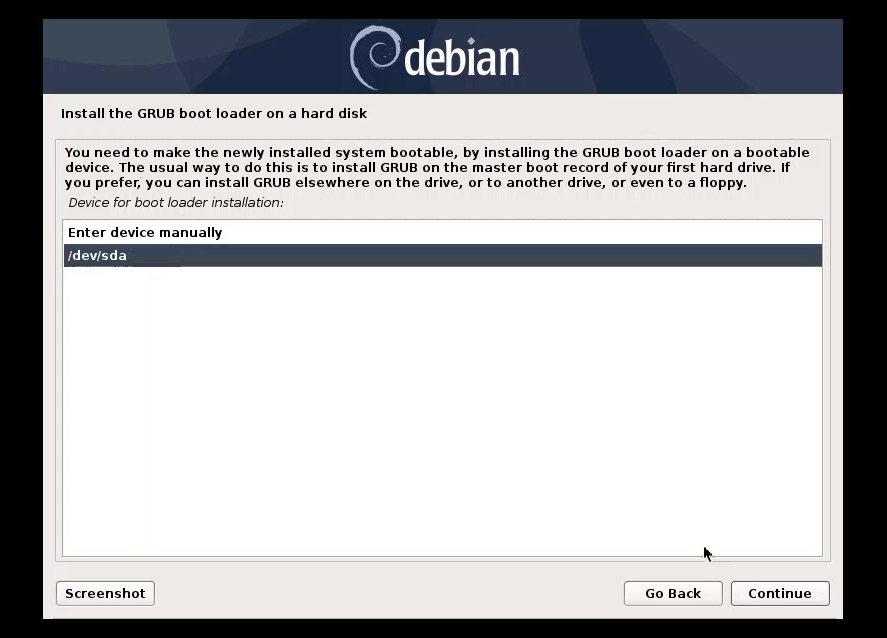
Select the device for boot loader installation: /dev/sda (the virtual disk).
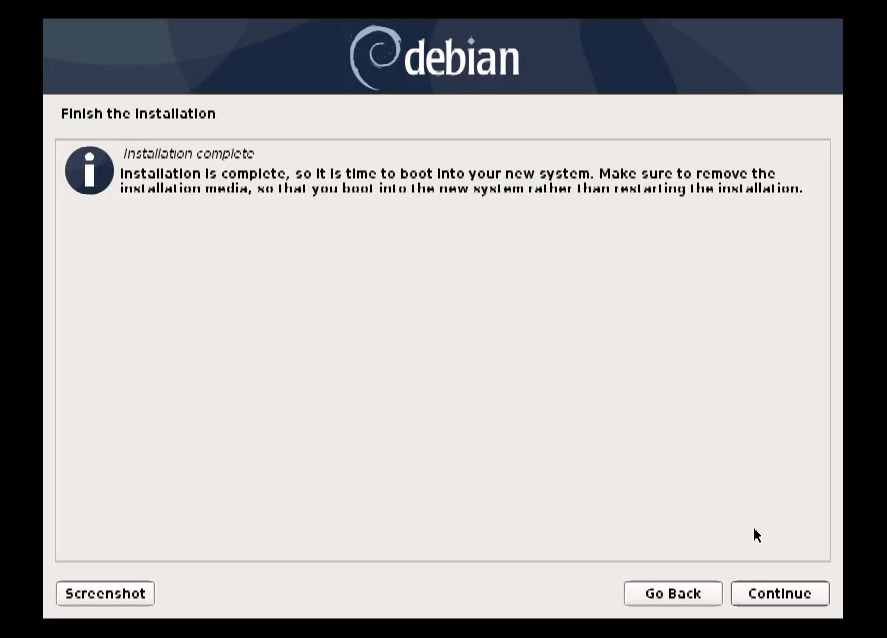
Installation complete! Click Continue to reboot.
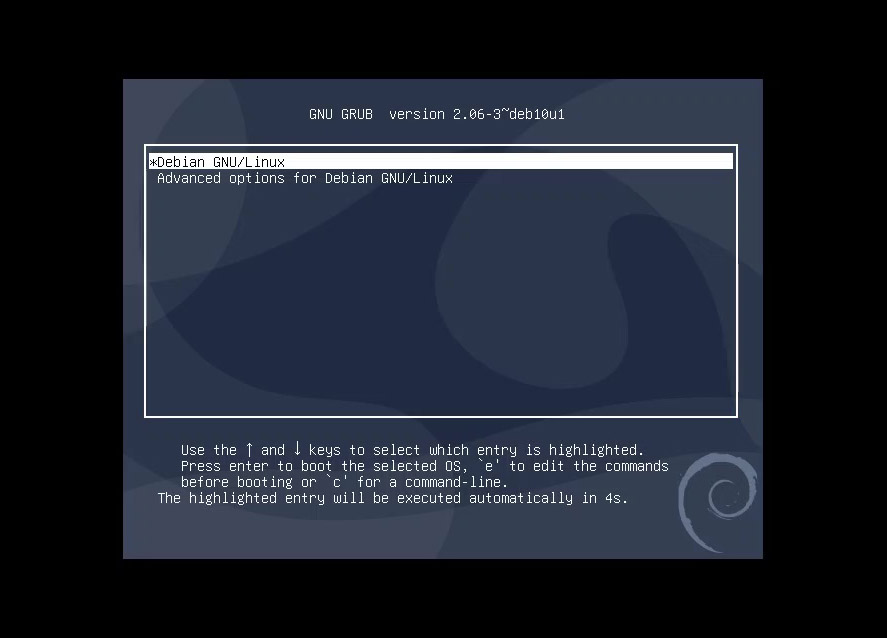
When the system restarts, select Debian GNU/Linux from the boot menu.
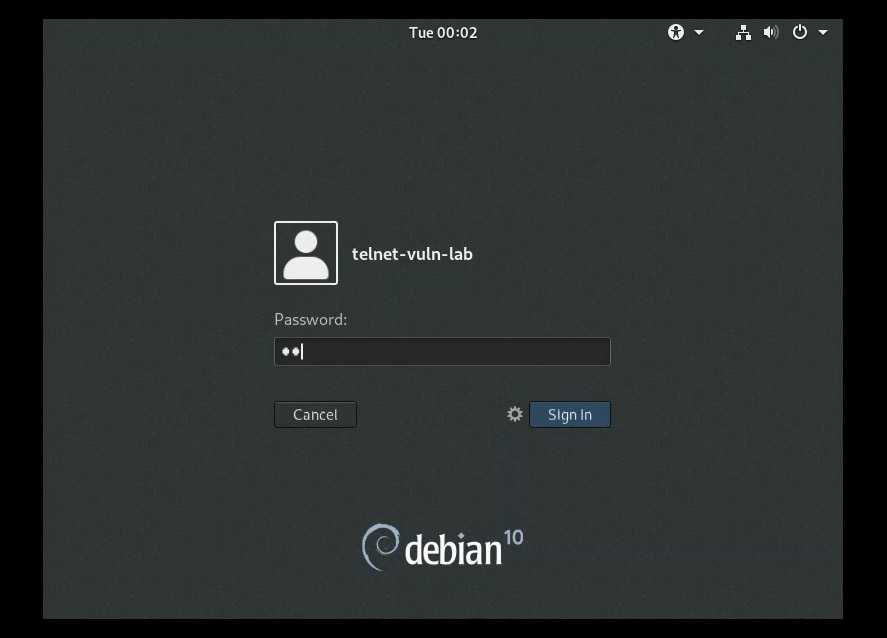
Log in with the user credentials you created.
Welcome to your Debian 10 desktop!

Step 6: Post-Installation Tweaks
To make the VM usable (proper screen resolution and mouse integration), we need to fix the repositories and install VM tools.
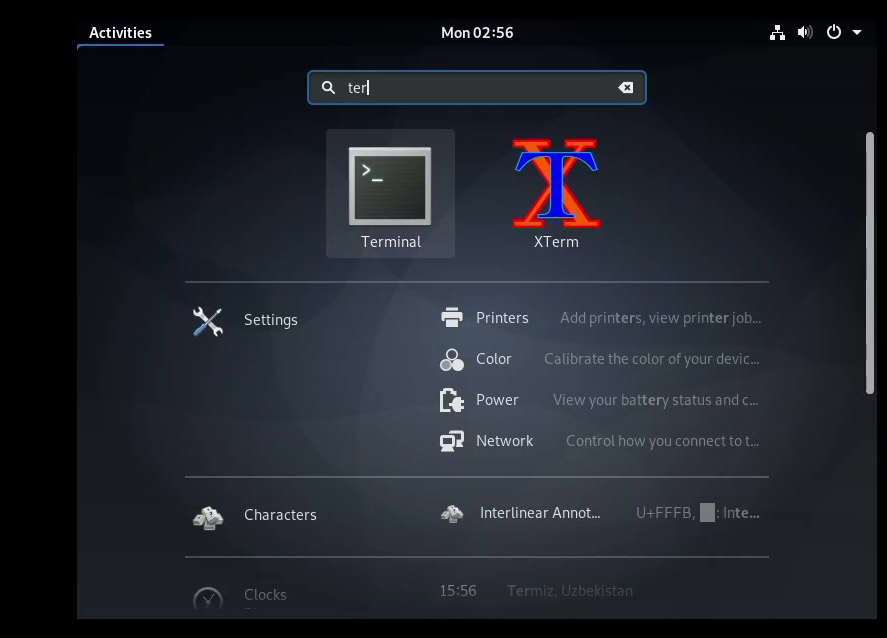
Open the Terminal from the Activities menu.
Switch to the root user:
sudo su -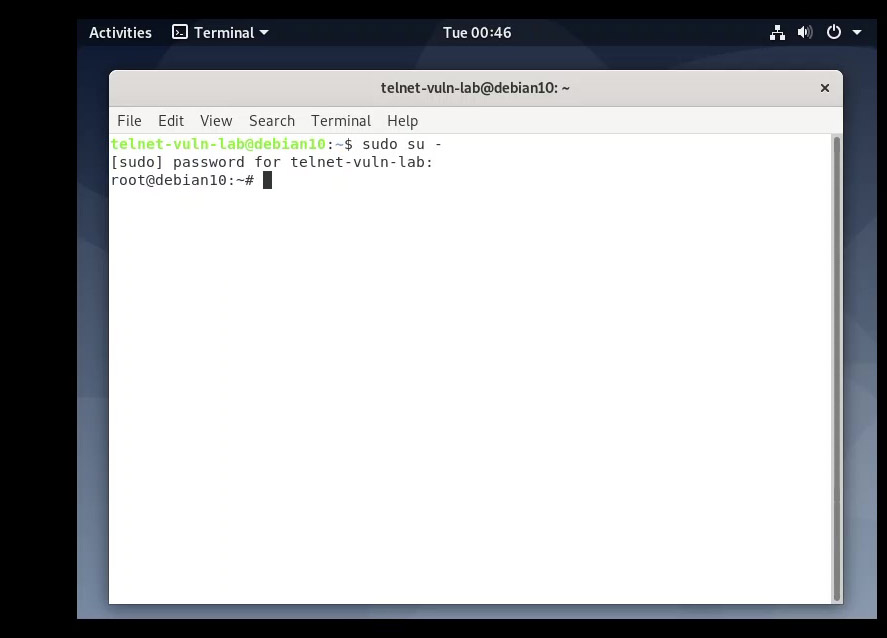
Edit the sources list:
nano /etc/apt/sources.list
Add these archive links (replace any existing content or add them at the top):
deb http://archive.debian.org/debian buster main contrib non-free
deb http://archive.debian.org/debian-security buster/updates main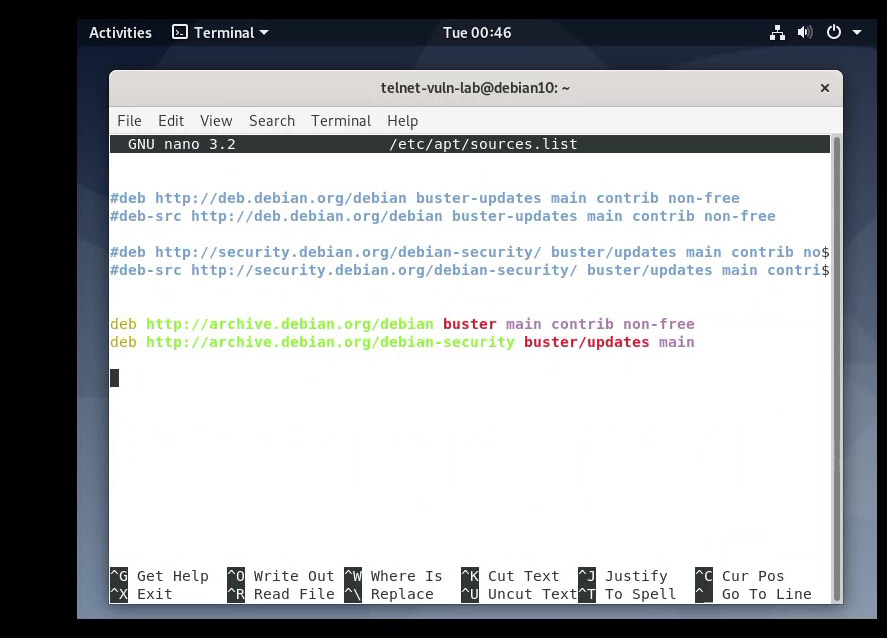
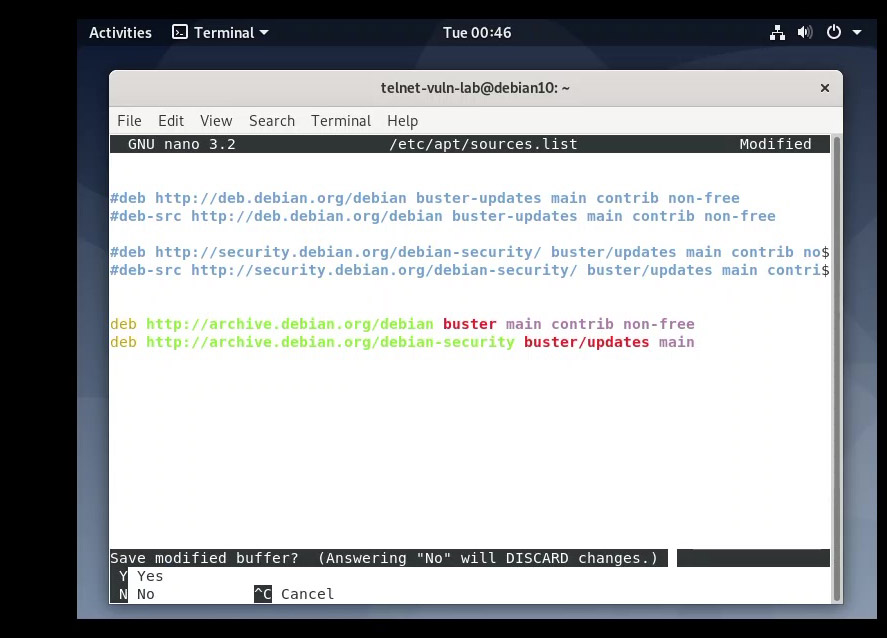
Save the file by pressing CTRL+X, then Y, and Enter.
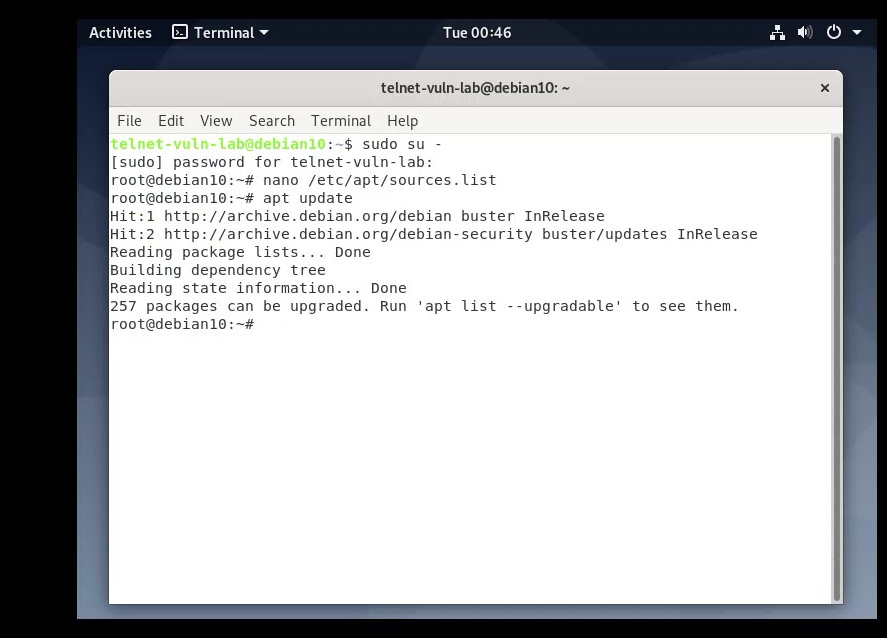
Finally, update the package list and install the VMware tools (which include drivers for better integration):
apt update && apt install open-vm-tools-desktop -y && reboot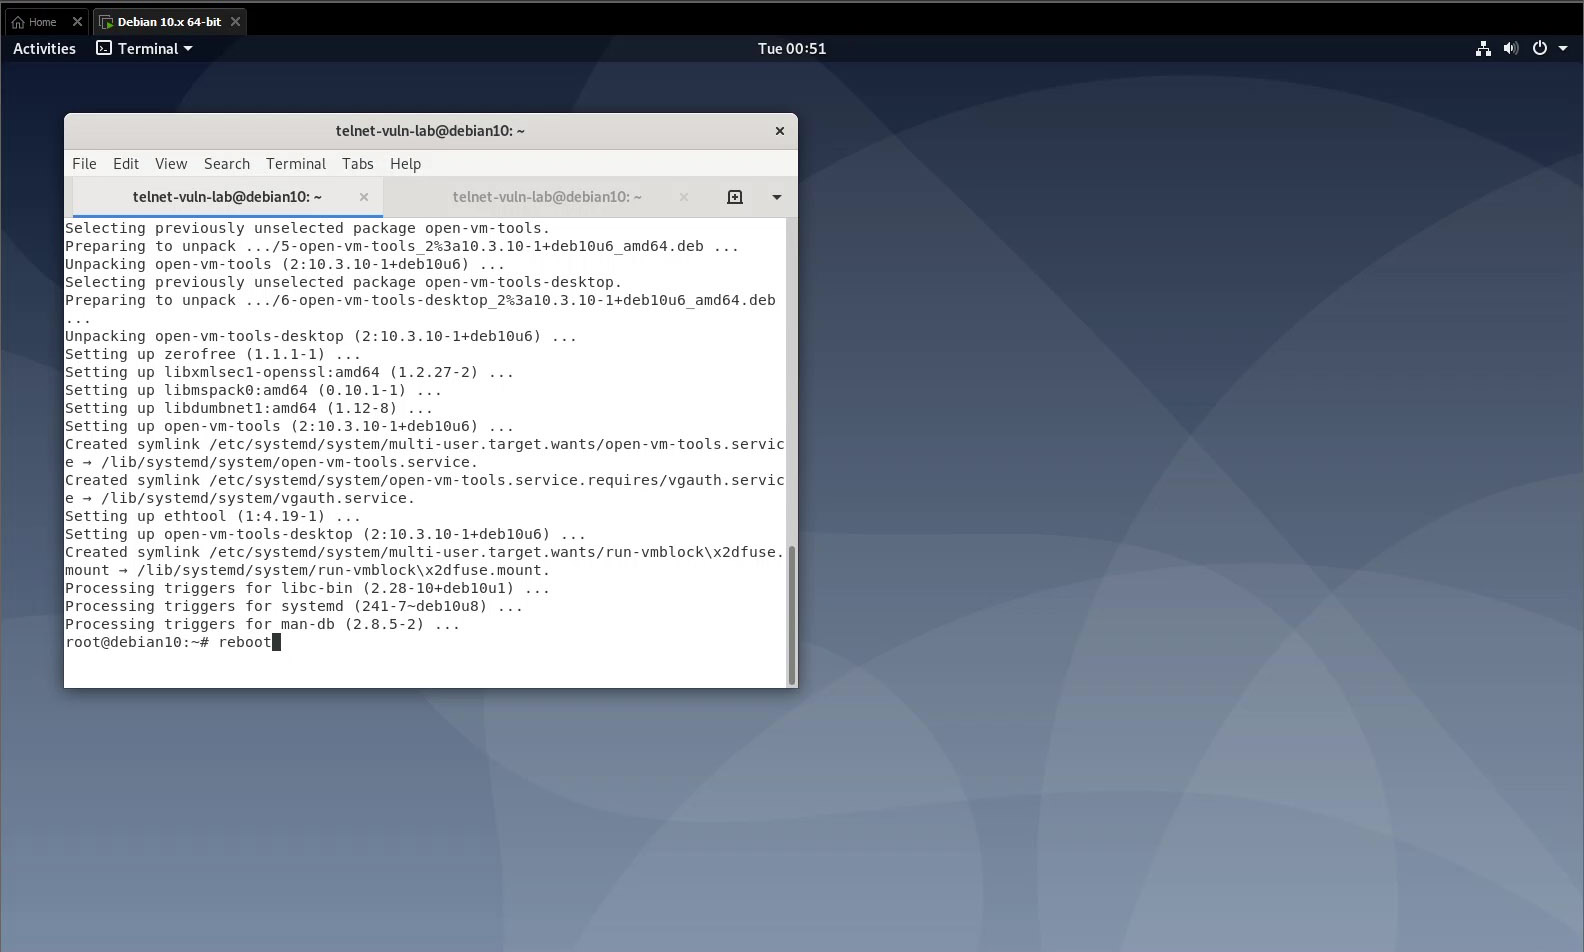
After the reboot, your screen should resize automatically, and copy-paste between host and guest will work seamlessly.
Ready for Action
Congratulations! You now have a fully functional Linux lab environment running inside Windows. Whether you want to explore the command line, host a web server, or—as we will do next—test security vulnerabilities, you have a safe "sandbox" to play in.
Next time, we’ll look into Kali Linux and Parrot OS, the heavy hitters of the cybersecurity world.
Conclusion
Whether you're stepping into cybersecurity, DevOps, or cloud computing, having a Linux environment ready on your Windows machine is an essential first step. VMware Workstation Pro and VirtualBox both give you a safe, isolated space to experiment — without touching your main system. The download process for VMware is a bit involved thanks to Broadcom's portal, but once you're through it, you've got a powerful tool at your disposal for free. VirtualBox remains the no-hassle alternative that's more than capable for most use cases.
In a follow-up post, I'll walk through actually installing a Linux distro (like Ubuntu or Kali) inside one of these hypervisors. Stay tuned.